Fashion
Beauty
Family
Lifestyle
Home
About
Contact
Shop
chocolate
When I Grow Up…
Read More
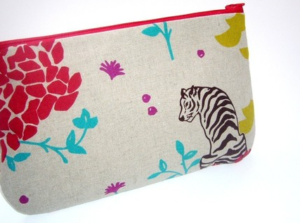
Flavors to Follow: Red
Read More
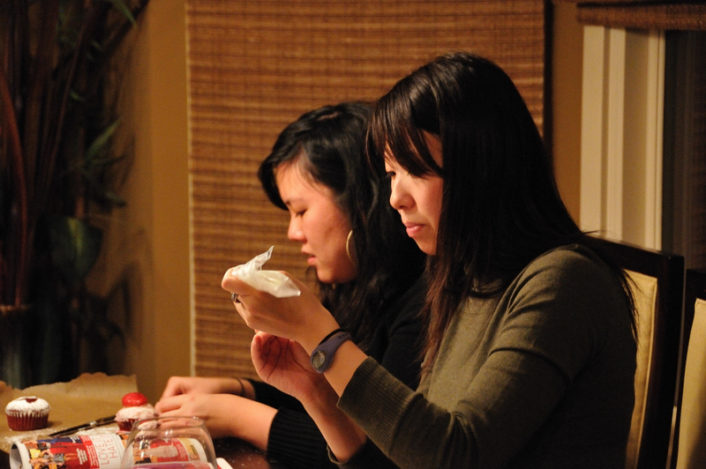
Heart To Heart Conversations
Read More
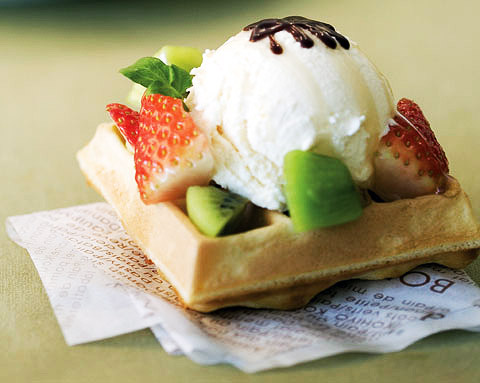
National Eat Ice Cream for Breakfast Day!
Read More
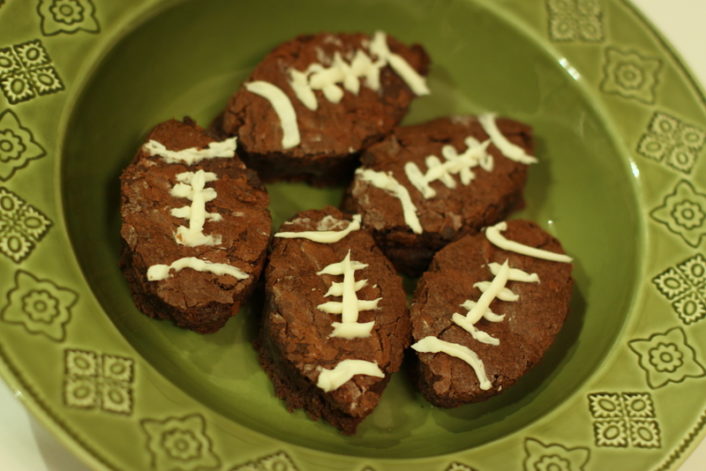
Football Brownies FTW
Read More
White Chocolate Treats
Read More
<
1
2
On the Blog
Fashion
Beauty
Lifestyle
Home
More
Shop
About
Contact