Fashion
Beauty
Family
Lifestyle
Home
About
Contact
Shop
recipe
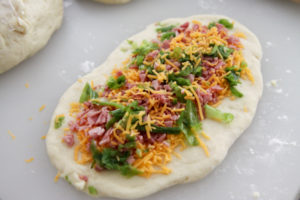
Garlic Bread and Tomato Spread
Read More
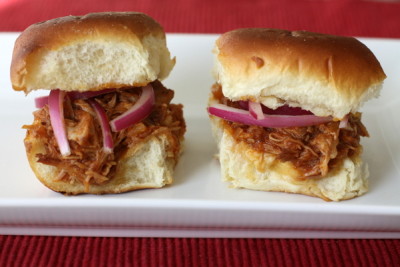
Hawaiian Pulled Pork Sliders With Crock Pot Seasoning
Read More
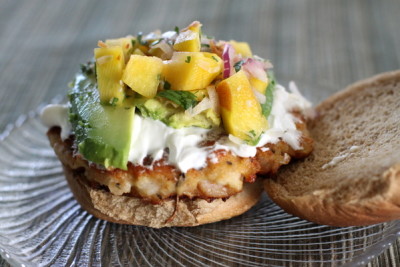
Best Shrimp Burger Ever
Read More
Cheesing It Up for V-Day
Read More
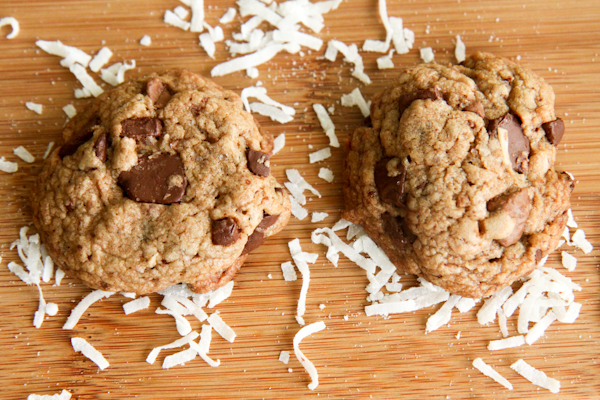
My New Fave Chocolate Chip Cookie
Read More
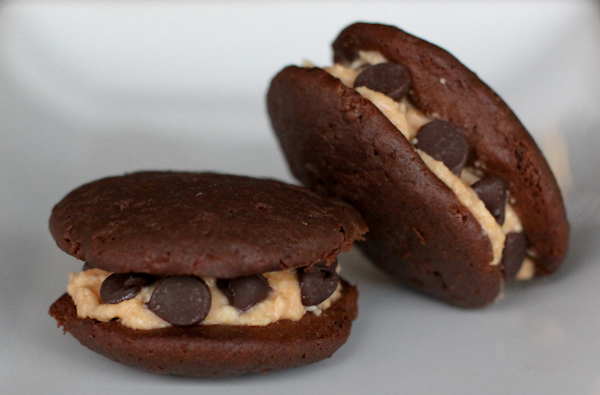
Chocolate Pumpkin Whoopie Pies
Read More
Pumpkin Pie Croissants
Read More
Caramel Filled Apple Cider Cookies
Read More
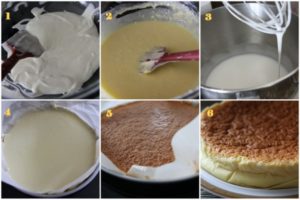
I Have Dreams Of Starting My Own Asian Bakery…
Read More
<
1
2
3
...
>
On the Blog
Fashion
Beauty
Lifestyle
Home
More
Shop
About
Contact