DIY/Crafts, Home Decor
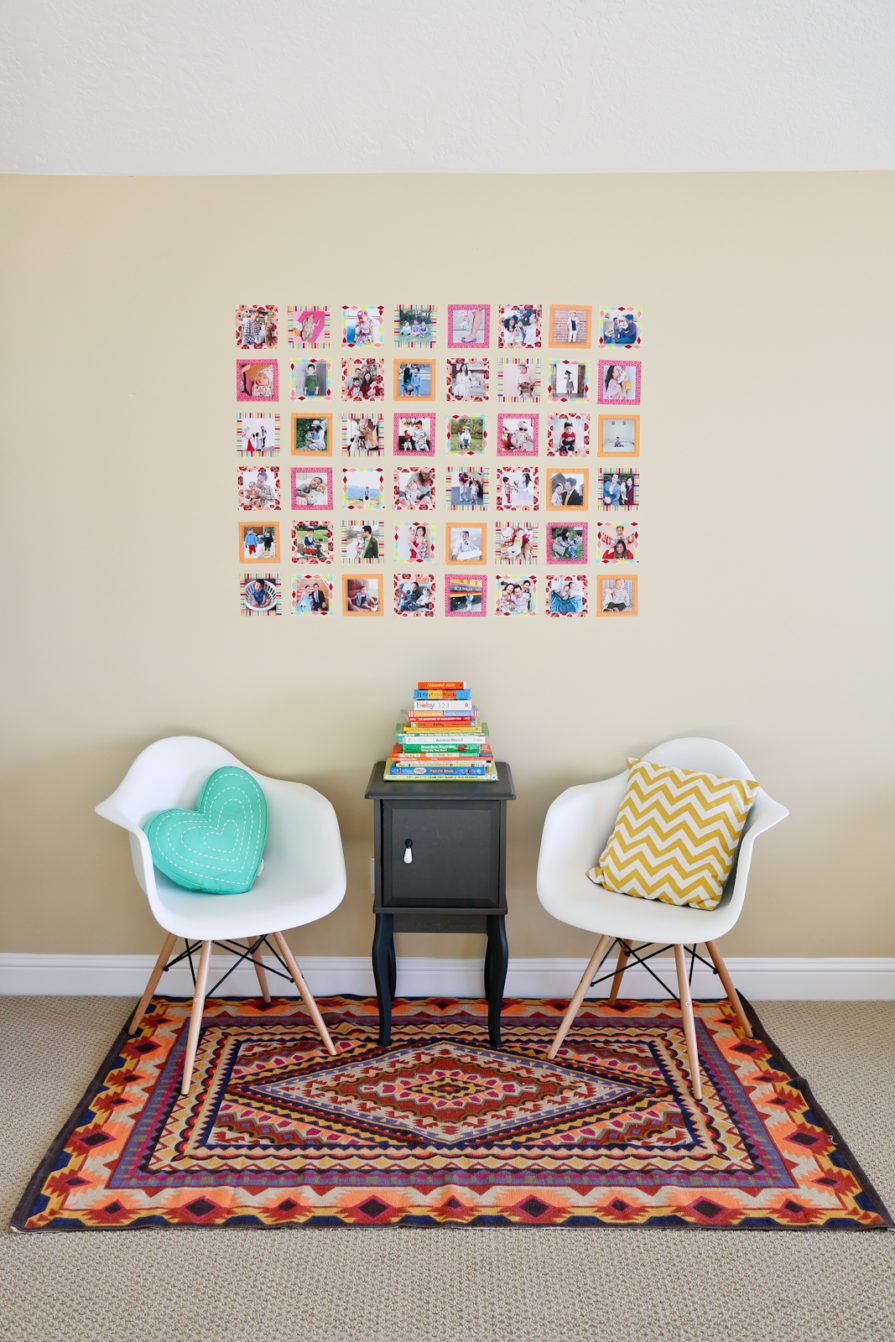
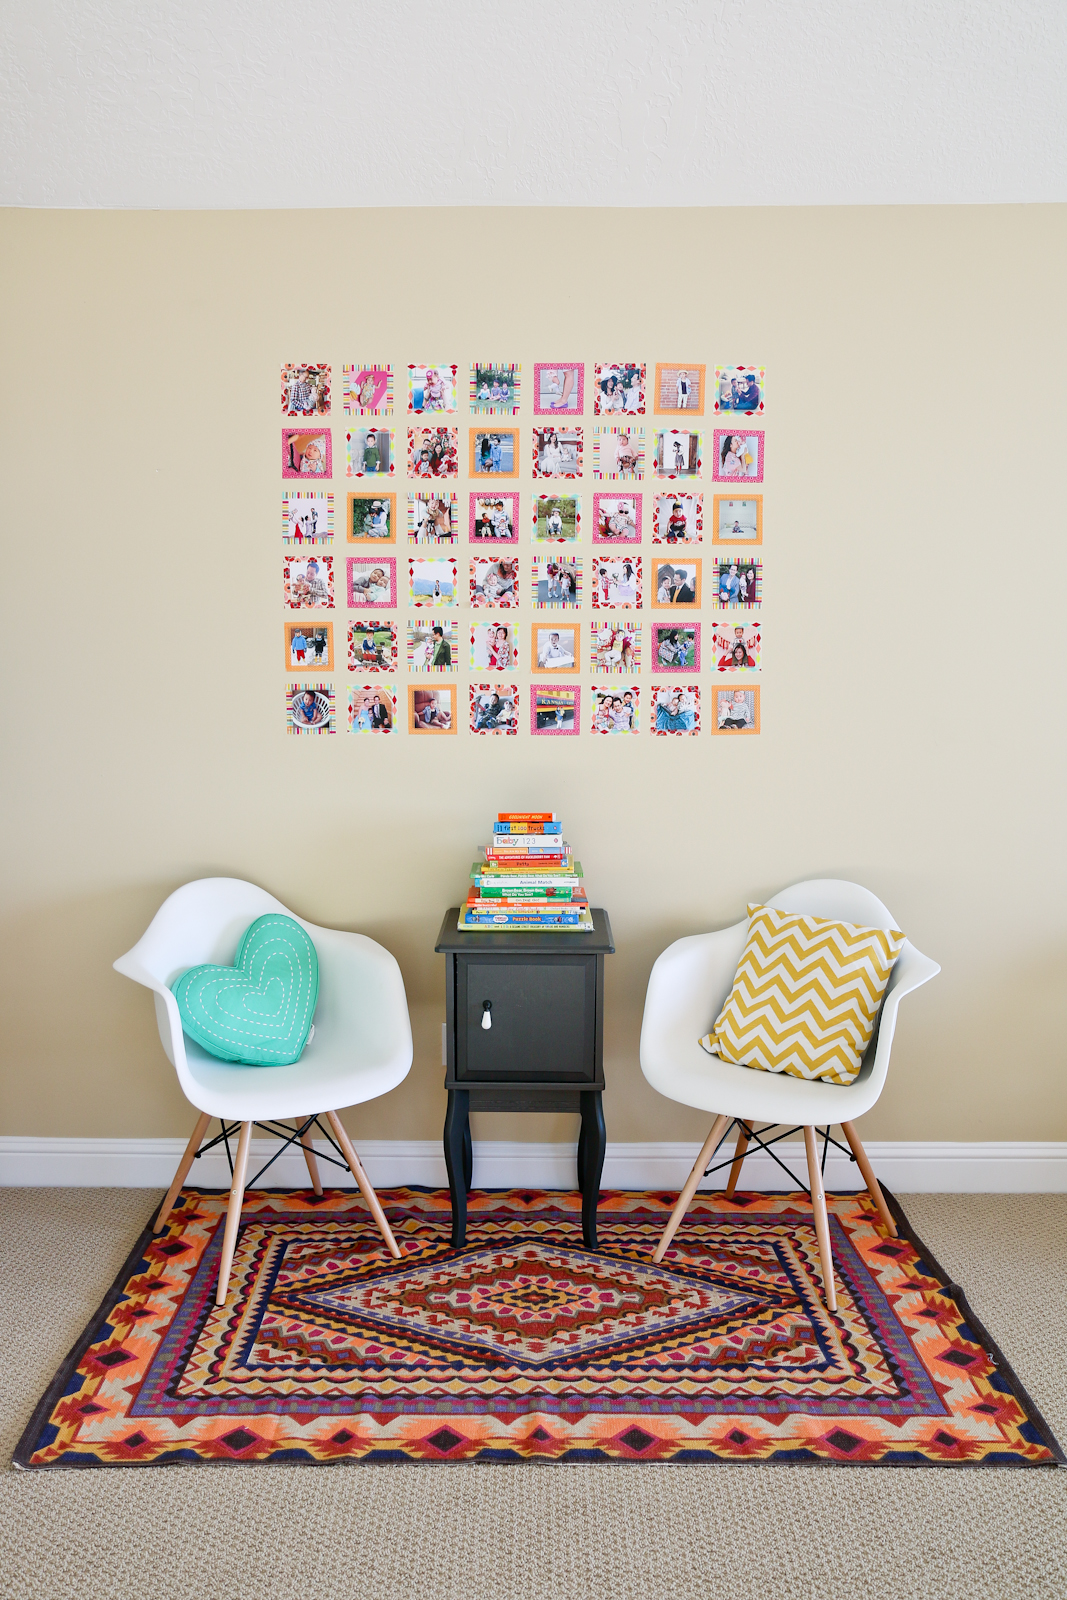
I’ve really been itching to spruce up our rental house as I think I mentioned this before, but much of our furniture and decor is from college or was given to us for free. But I wanted to step up our game a bit, but stay kid friendly and not break the bank. Because I am pretty obsessed with Instagram right now and it gives me slight heartburn that many of my photos are digital and I don’t print them out, I decided that I wanted to put up some of my square Instagram prints on a wall and make a collage out of it, in other words, make my own Instagram wall art. I decided to do it in our kid’s play room because there is a lot of space there and as Vivian grows up, we really will need to monitor them in there so would need a nice adult’s sitting area.
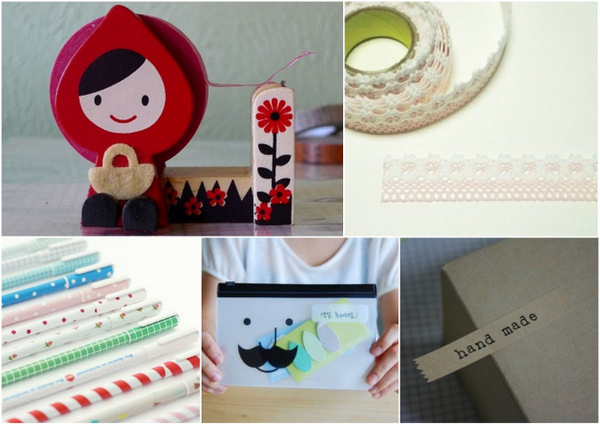
As some of you may or may not know, I recently attended SNAP! Conference which is geared towards crafters and creators. I made my own skirt, luggage tags, cards and although I liked some crafts better than others, I had a blast at the conference! One sponsor they had at the conference was Scotch and they gave out lots of washi tape. There’s so many things you can do with washi tape and the best part if that they come in super cute designs and aren’t super permanent tape in case you mess up your project or don’t want to mess up your walls.
My friend Jacque at Looks for Lovelies had raved to me before about Persnickety Prints as a great local (and online) shop to get pictures printed out. What amazed me really was their great prices and how FAST they were. I submitted my prints online one day and was able to pick them up in their store in Orem, UT at 3PM the next day! I really love the quality, and choose their 4×4 full bleed size for my Instagram photos. With all these things and some household tools, I was ready to begin my project…
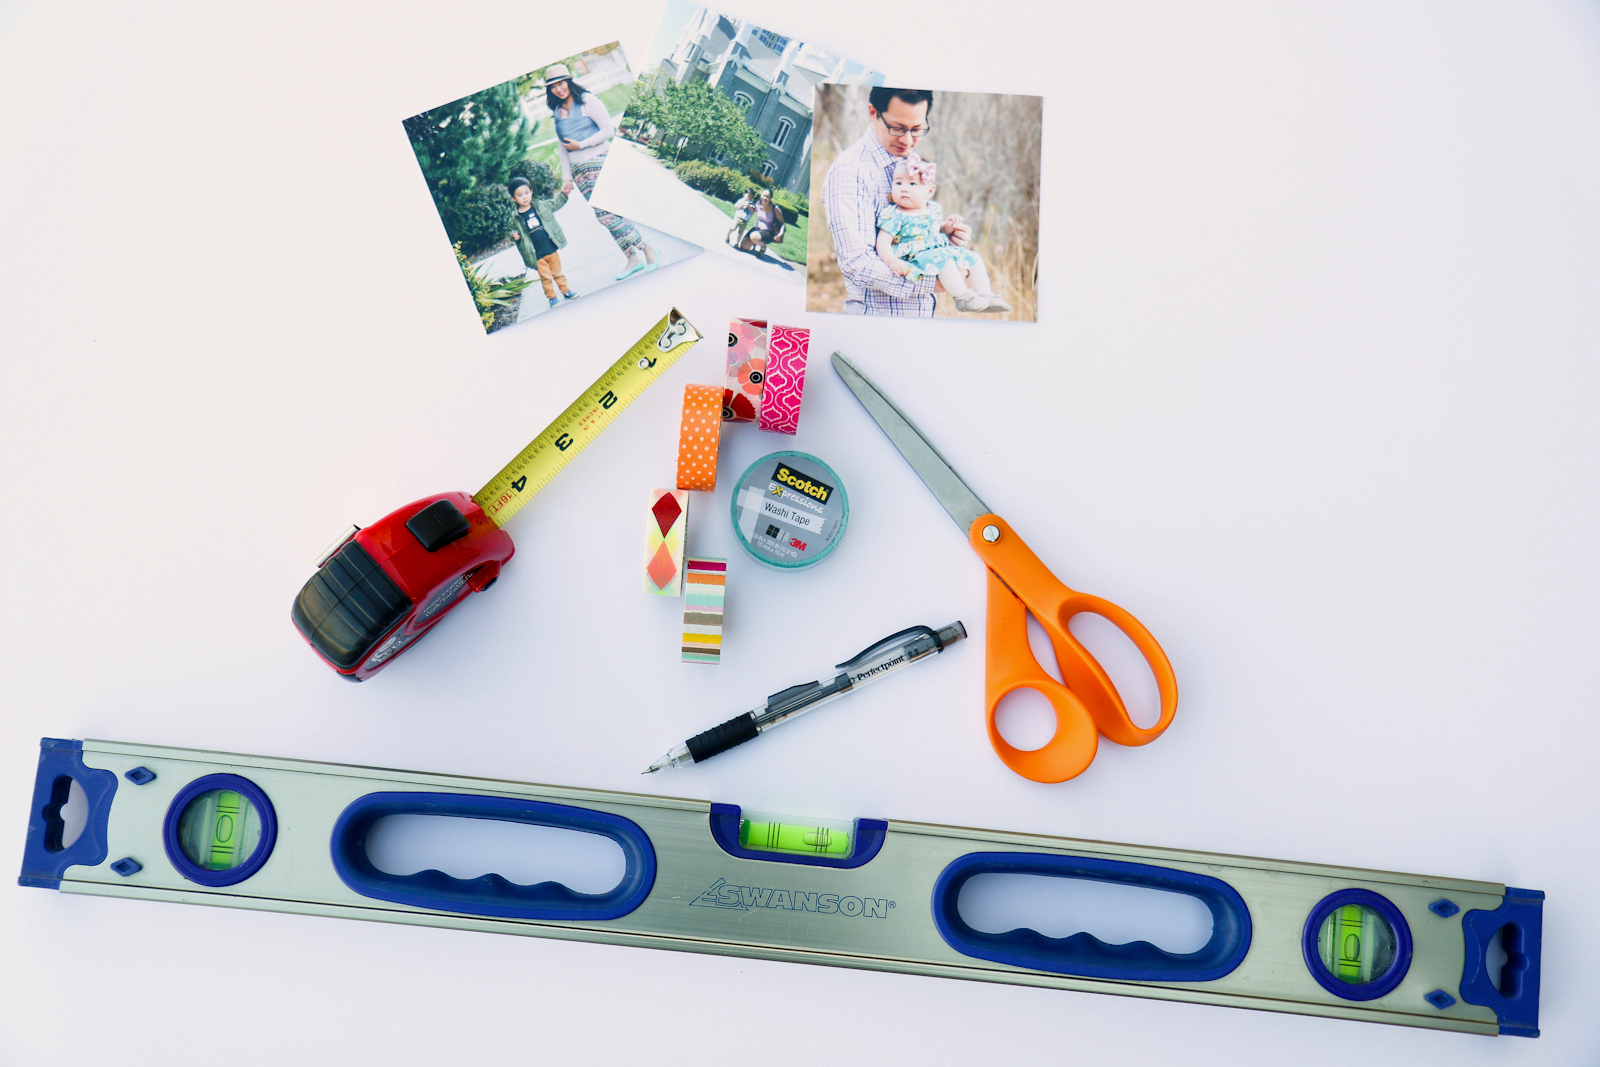
Things You Need:
Scissors
Measuring Tape
Level
Pencil
Different kinds of Washi Tape (I used 5 different ones)
Instagram Prints
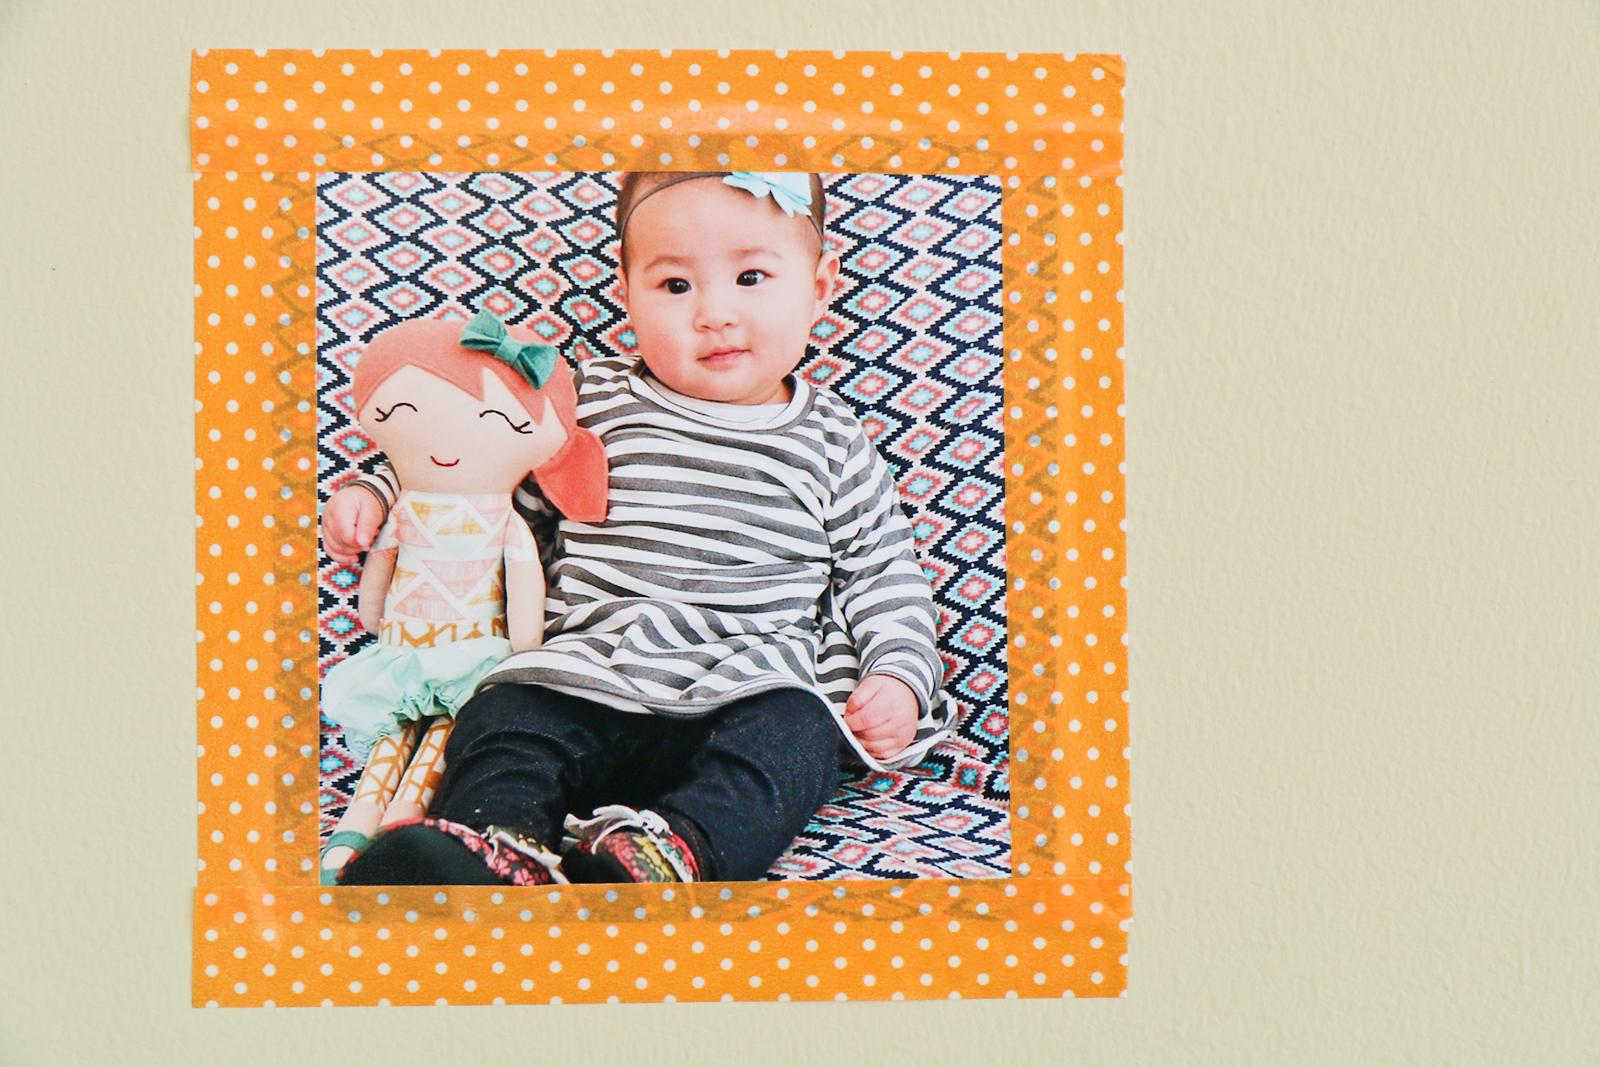
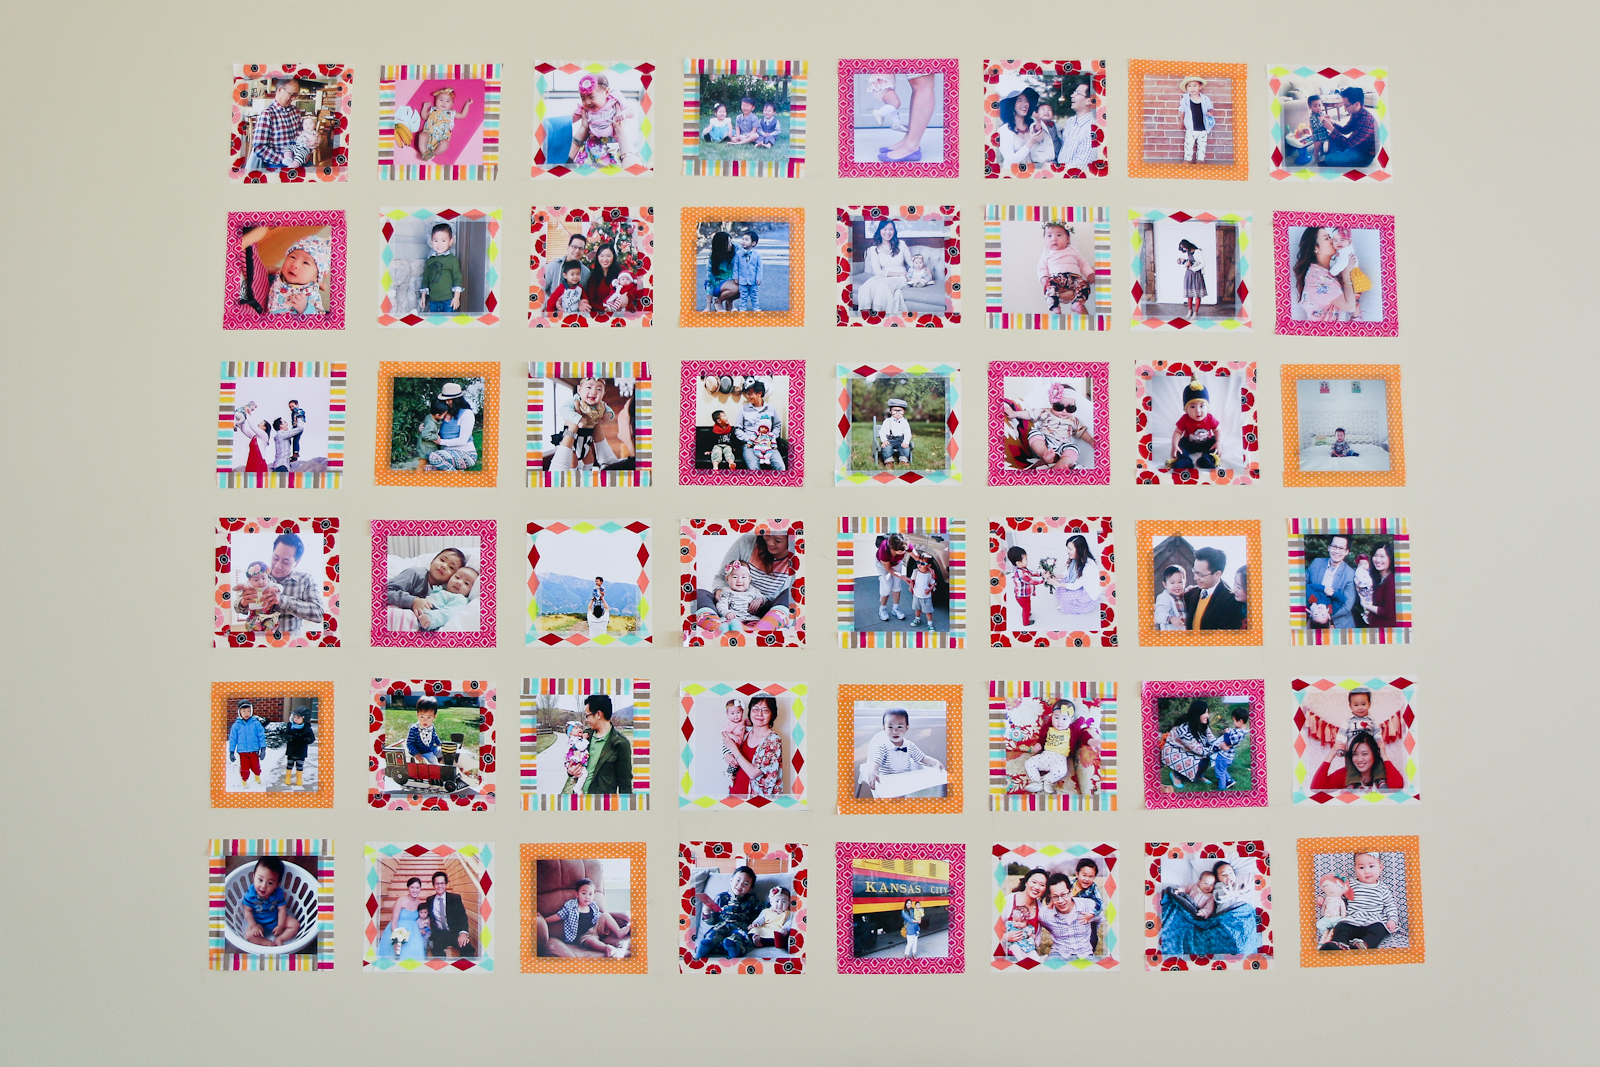
1. Create washi tape borders on each photo
This was probably the most time consuming step, but I basically used the washi tape and created borders around the photo. I started on one side and just moved my way around clockwise. I only covered less than half an inch of the photo on each side with the tape.
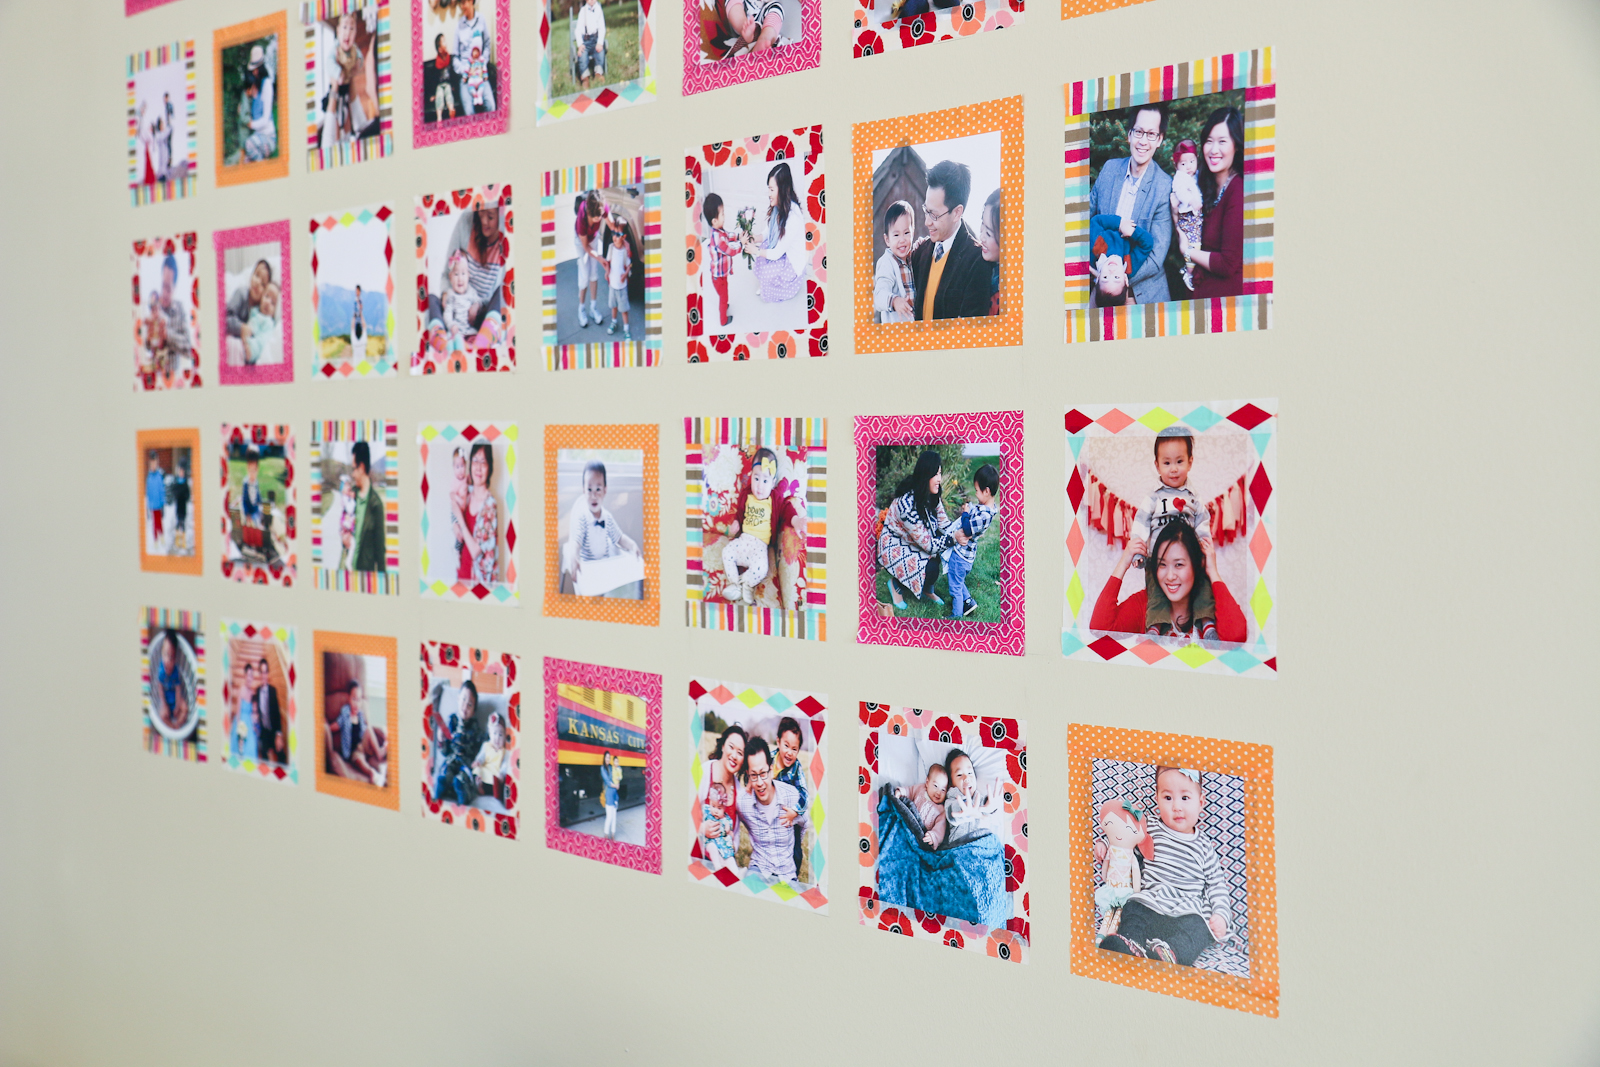
2. Space out the photos on your wall with your level and pencil markings.
I put my first photo down in the bottom left corner and started from there. I used a level at the very bottom of the washi tape and made pencil marks horizontally along the wall. This set up my “bottom” line for the photos so I could ensure the bottoms were in a straight line. For each photo along the bottom line, I spaced them out to be about 1″ apart, so did one photo at a time and made the 1″ mark after each photo. And then I started with the going up vertically photo by photo and measuring the 1″ apart going up. Once I was done, I was able to use the level vertically and make marks going up the wall which could help guide me in the photos.
One thing I had to be aware of when putting up the photos is to make sure that I didn’t use the same washi tape design next to each other. I used 5 different kinds so it wasn’t too hard to do, but it was just something to be aware of.
3. Erase pencil markings.
Once you finish your project, don’t forget to erase those pencil markings!
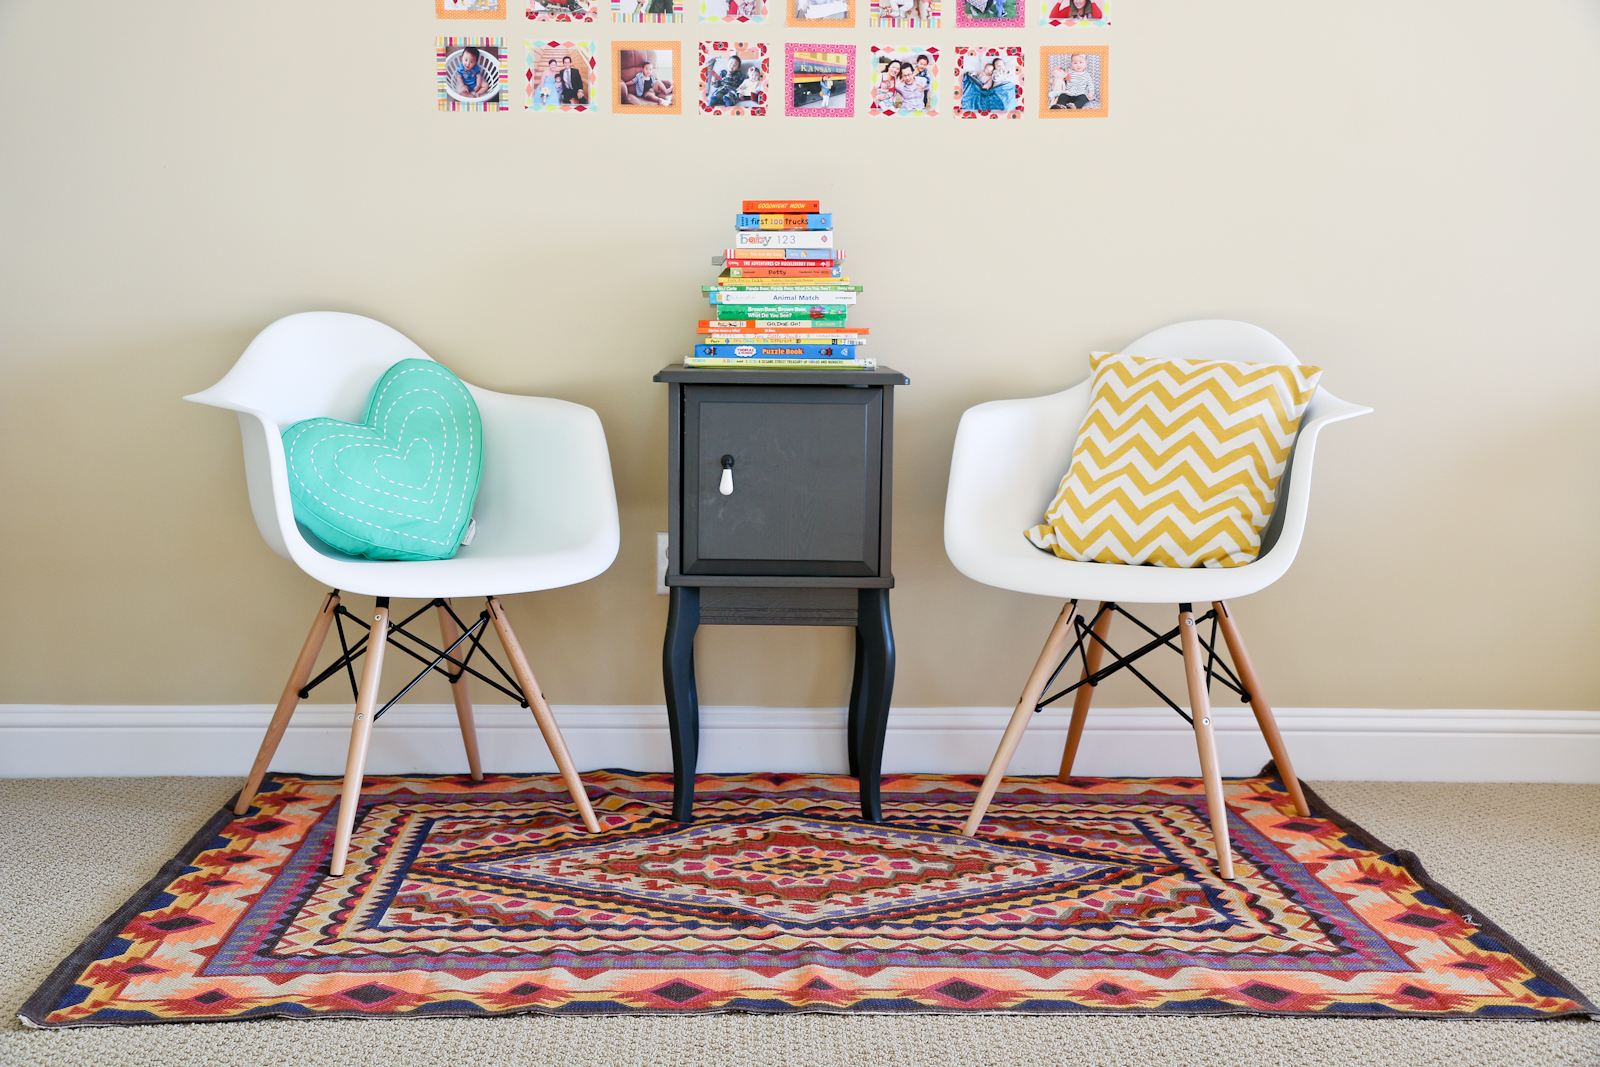
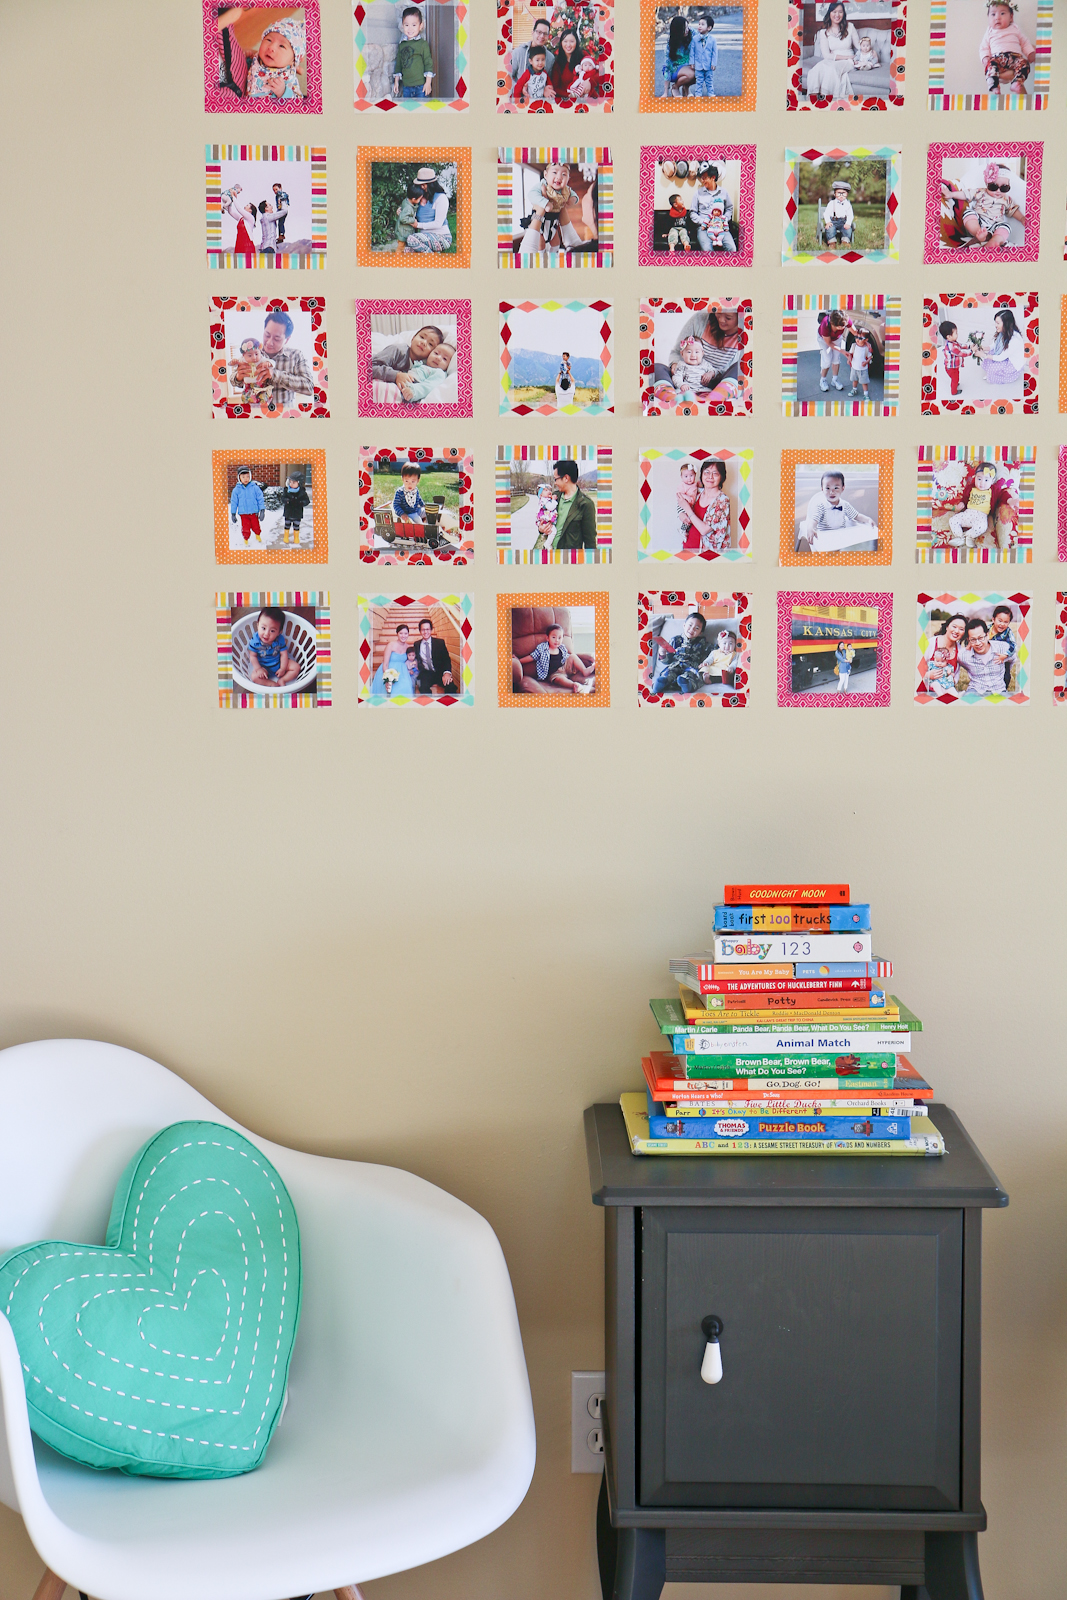
After I put the prints up, I set up the “sitting area” with a pretty Urban Outfitters colorful rug, 2 Chelsea chairs from Laura Davidson, and an Ikea side table with books on top. I think of this space as a “story time” space or just for sitting and watching the kids play. If you haven’t checked out Laura Davidson before, they have tons of great chairs that could be used for your office, living room, dining table, kid’s play room, etc. for really really, I mean really great prices.
I just love how it turned out!! Austin loves coming to this wall and reminiscing about our lives in Kansas City, “baby Austin”, and just seeing cute pictures of his sister and other family members. 🙂