Recipes
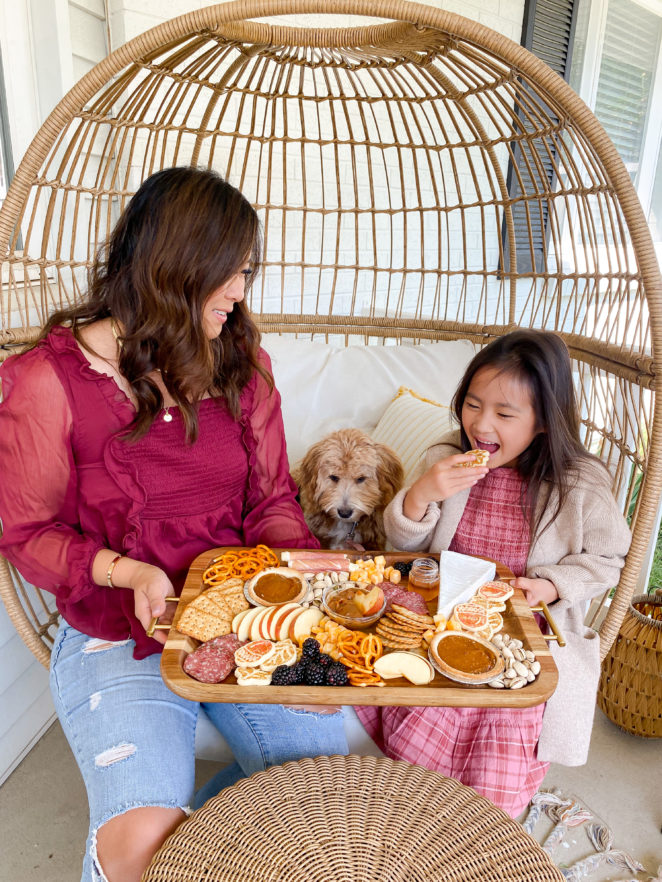
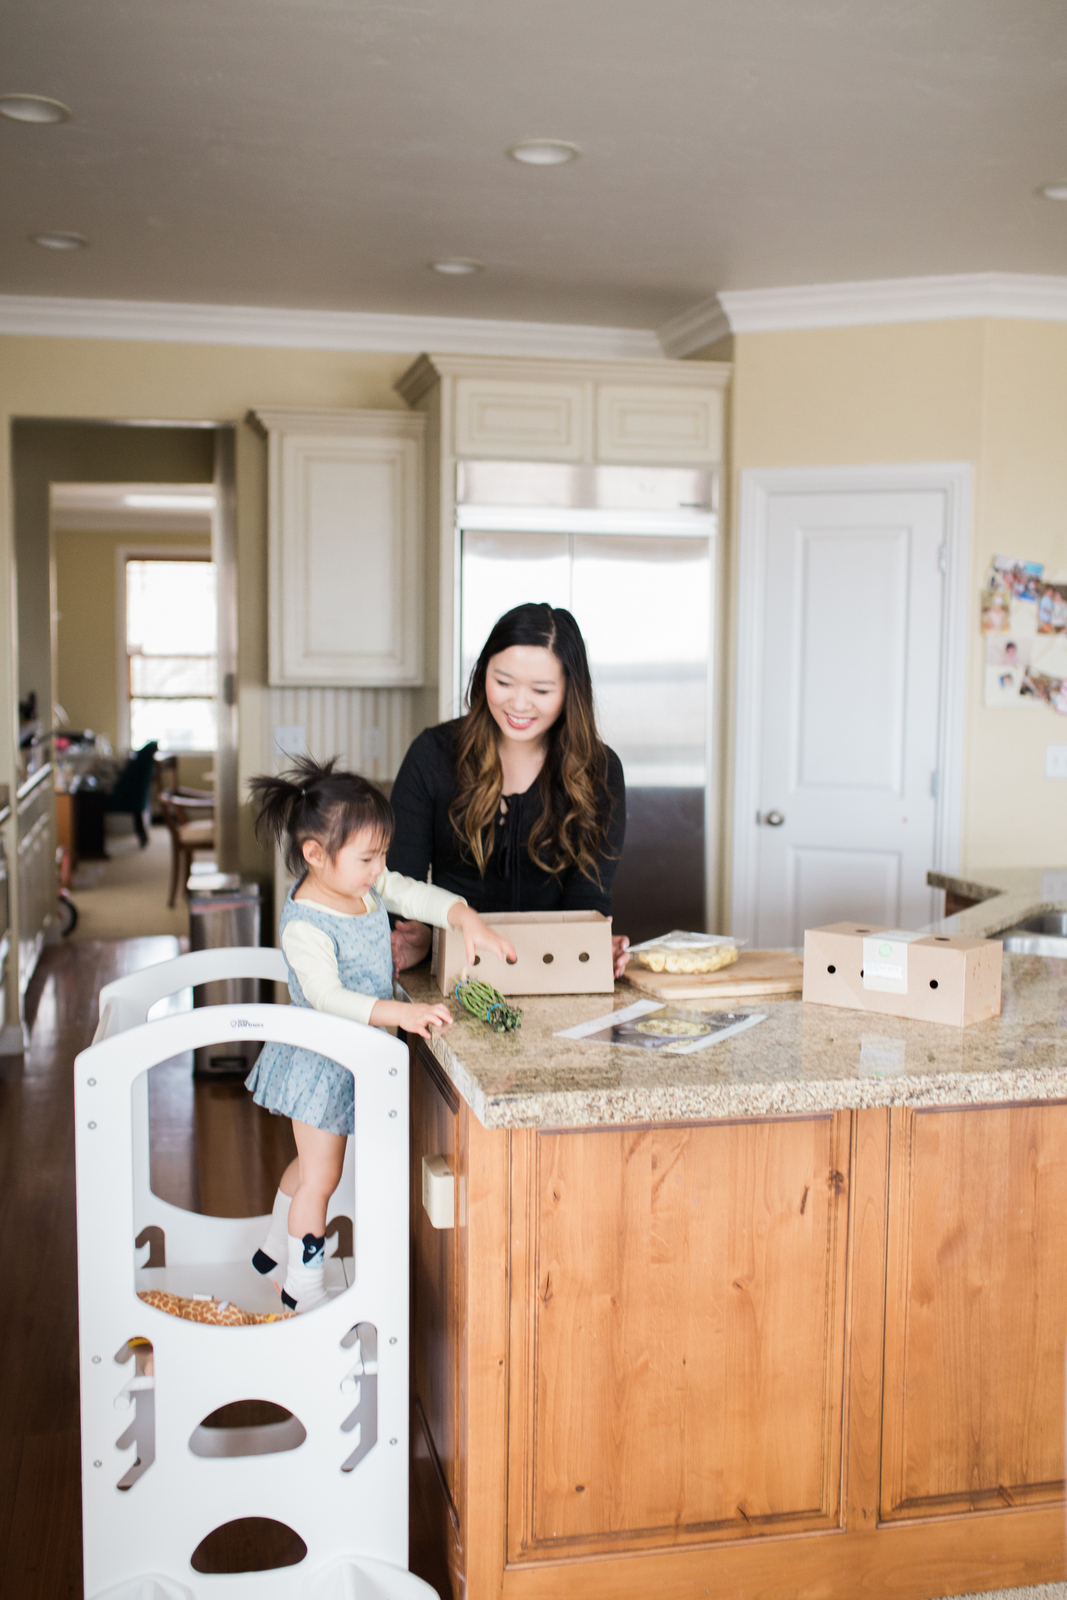
Fall Charcuterie / Snack Board
Read More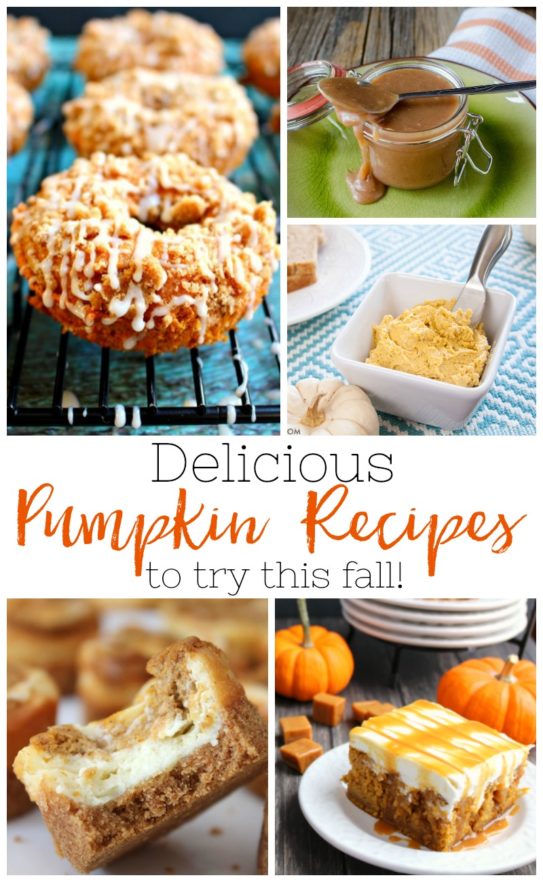
11 Delicious Pumpkin Recipes To Try This Fall!
Read More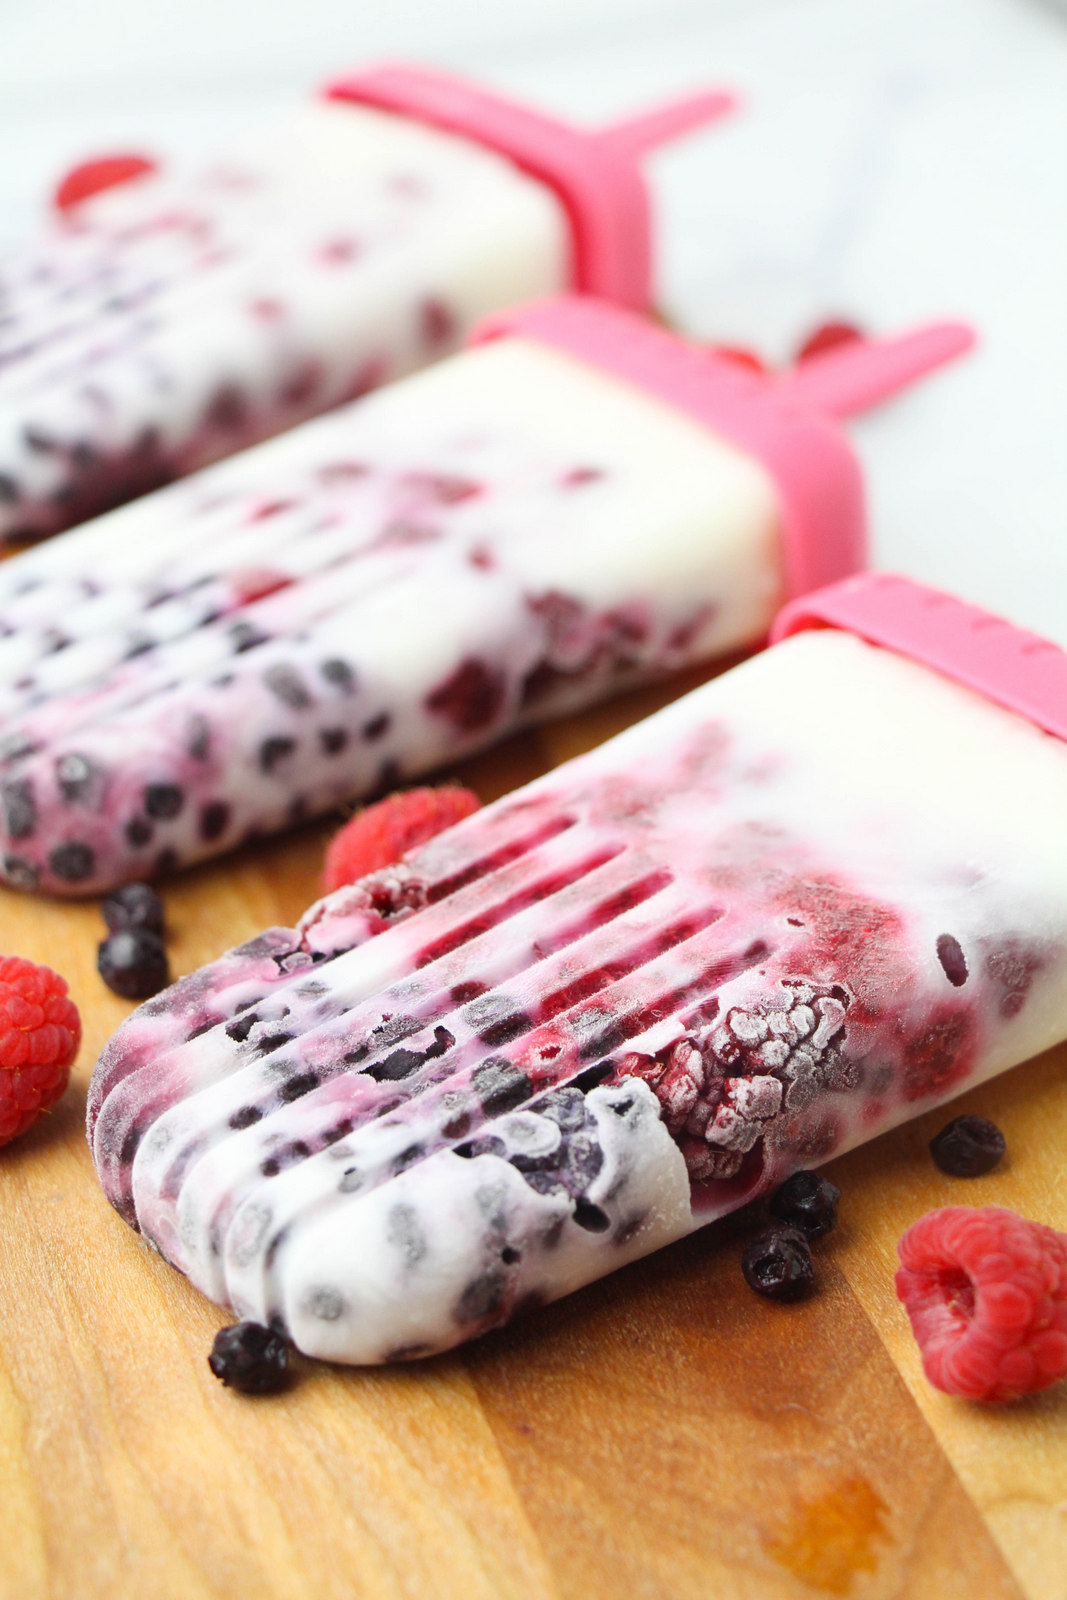
How To Make Patriotic Fruit Popsicles
Read More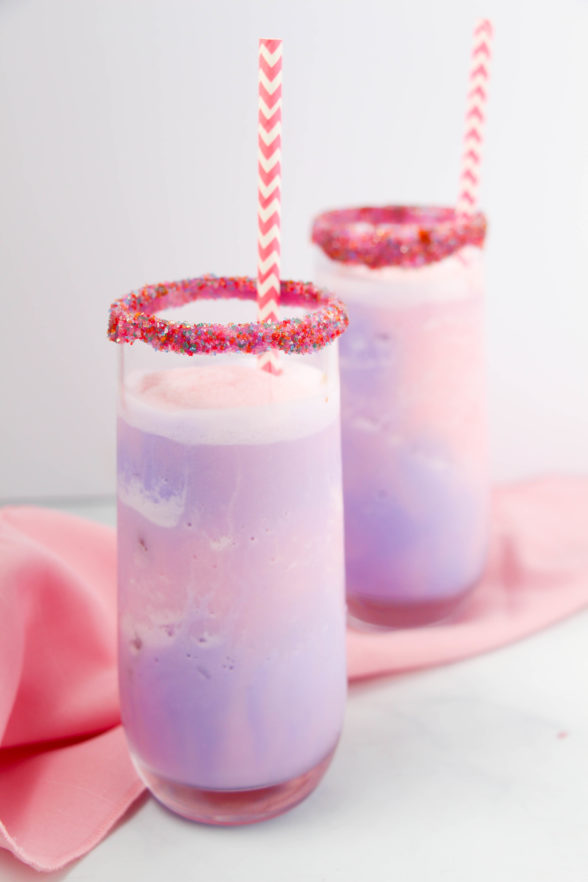
Grown-up Unicorn Frappuccino Recipe
Read More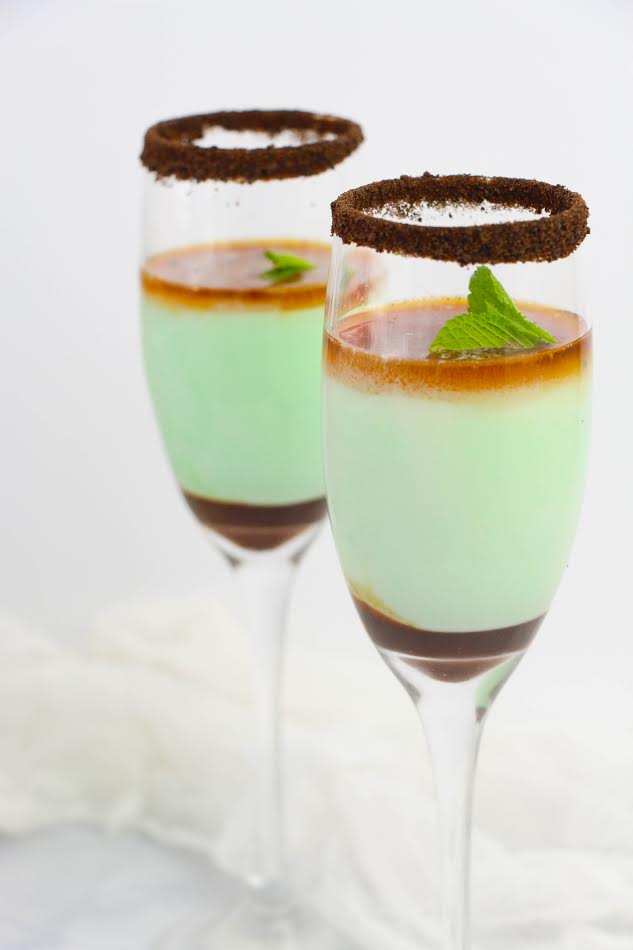
Girl Scout Cookies Cravings : Delicious Thin Mint Cocktail
Read More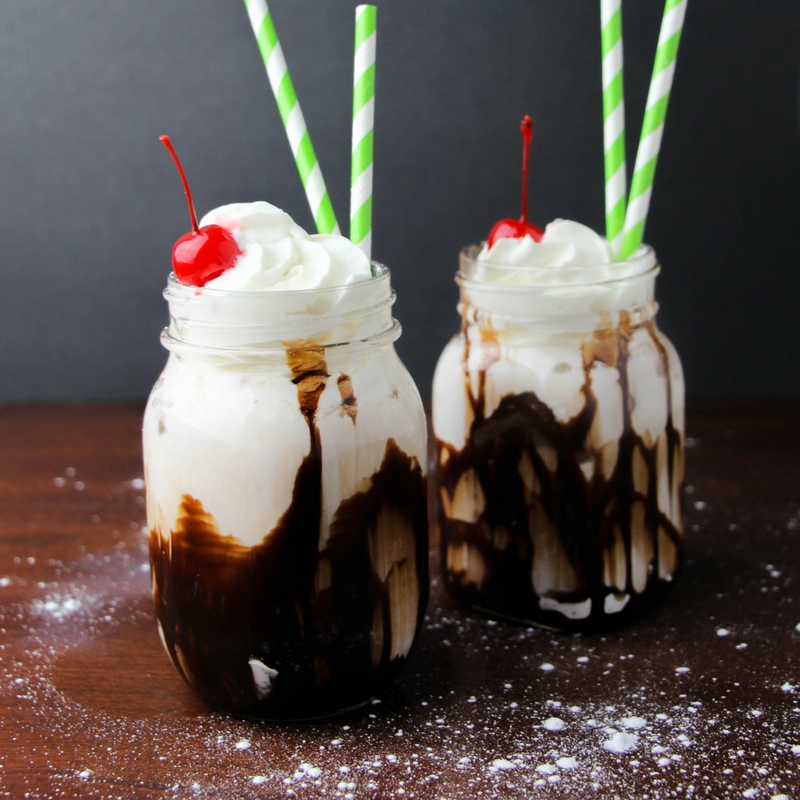
Bailey’s Sundae-Style St Patrick Drinks
Read More