These days, owning a DSLR camera is becoming more and more common. It seems like so many people I know have jumped on the bandwagon or are thinking about it. So if everyone has one… then why not accessorize and make yours stand out with a nifty, personalized camera strap cover!? Let’s be honest here, the standard strap that comes with your camera is probably black, boring, and uncomfortable (and you probably have the same or similar one as your fellow camera brand users as well).
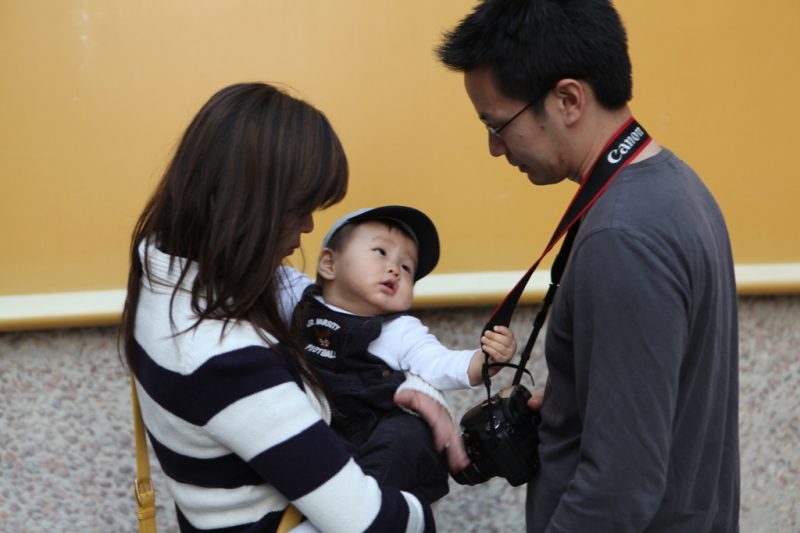
Look here… little Evan is telling his Uncle Marvin to “get that ugly strap off your neck”!
So I bring to you my very first “In Stitches” post and sewing project I’ve ever made, the nifty Camera Strap Cover!
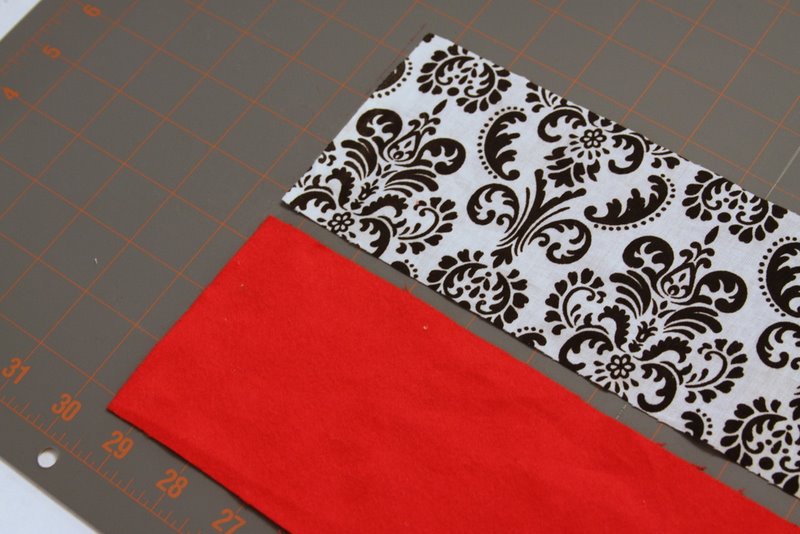
First off, you’ll need to pick two coordinating fabrics for your strap. I always like to go with a design on one side and a soft fleece like solid print material on the other side. Then find the length (just the thicker part, not including the thin strap that adheres to the camera) and width measurements of your straps. This can vary depending the camera you have. For example, I have a Canon 50D and my strap length and width is 26 1/2” by 1 9/16“… while a Canon 5D Mark II’s strap length and width is 27” by 1 9/16“… and while an Olympus camera is 27” by 1 1/2“. Anyways, you catch my drift, just measure your strap and then you can go from there. You will need to create a seam allowance and this is where it may take some trial and error. I cut my two fabrics at 29 1/2” and 3 3/4“.
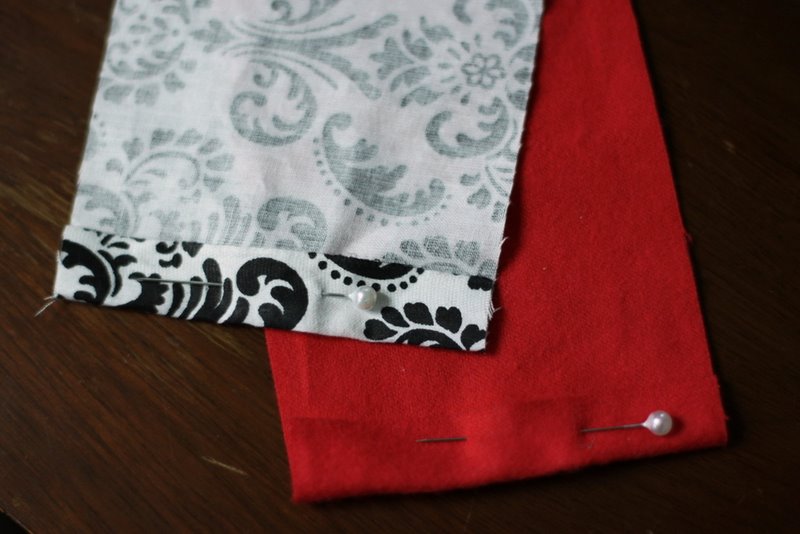
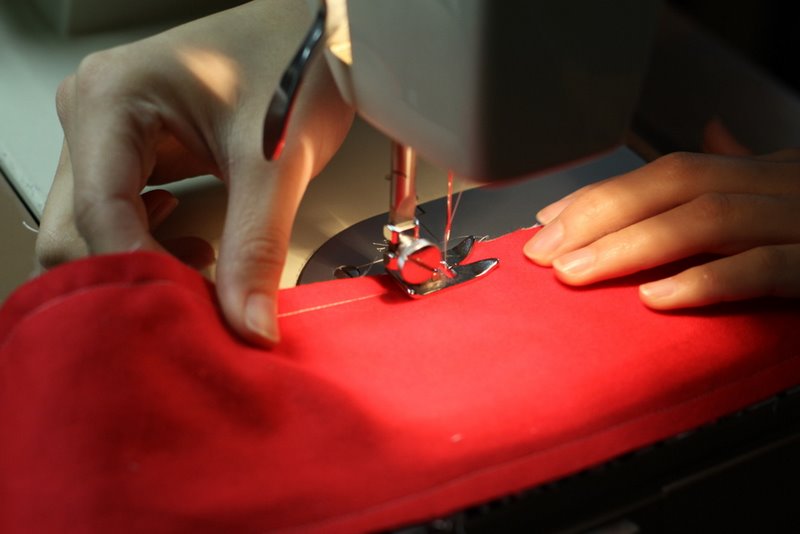
Next you will need to fold in both ends of both fabrics and sew them up so that the ends will have a nice non-frayed folded edge. Make sure the fold is against the side that you want to be on the inside.
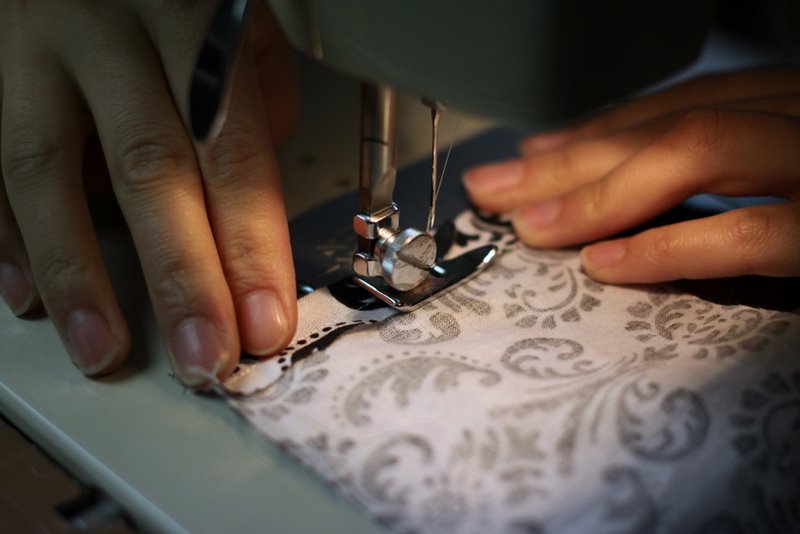
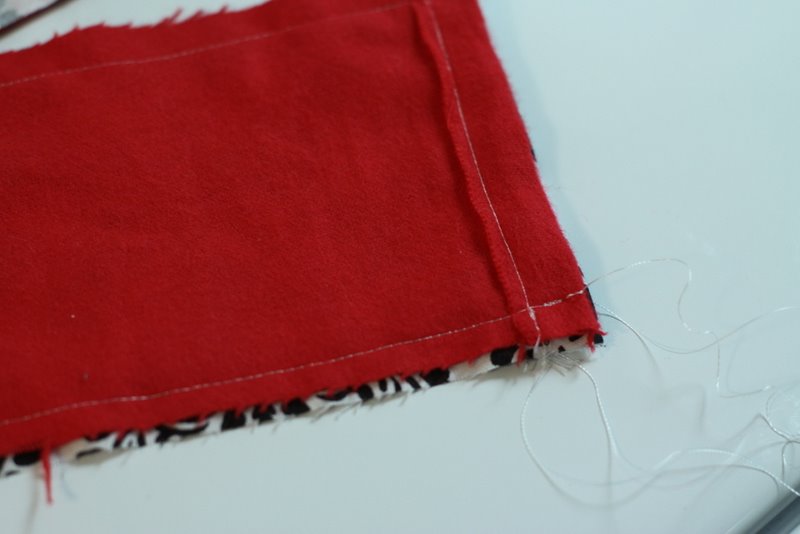
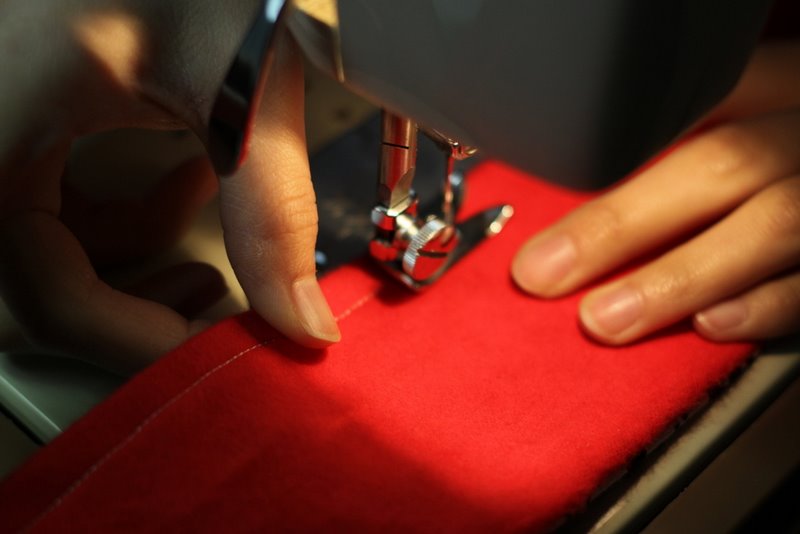
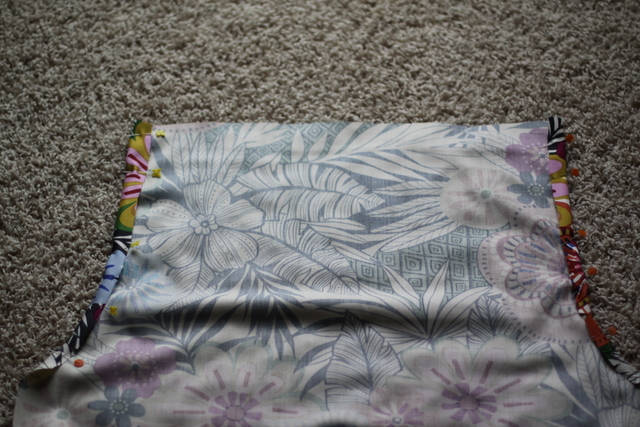
Next you will line up the two fabrics so that the side that you would like to show on the outside, is facing the inside. Then you just pedal away (if you are using a machine, and I really hope you are using a machine b/c it would take forever to sew by hand) on both sides.
Once you are done, your strap should look like this. And you should probably cut off the loose threads.
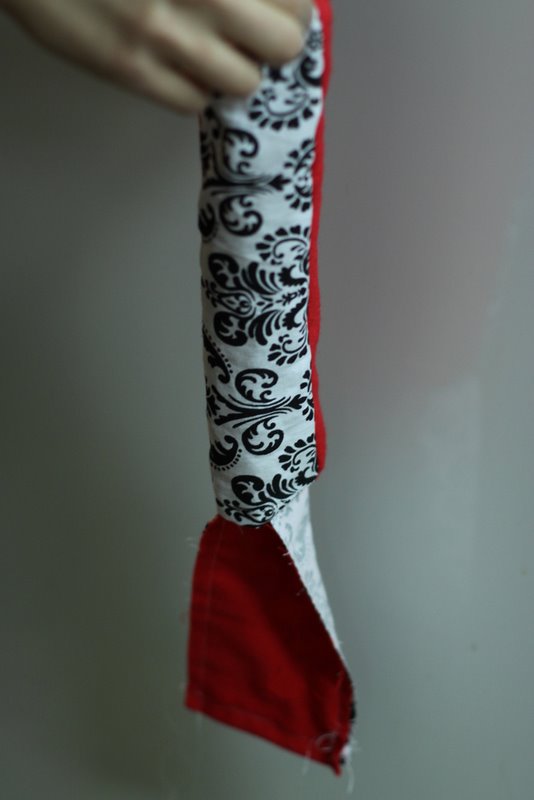
Then comes the most annoying part… flipping the fabric inside out. I’ve managed to come down with a technique for doing this, but it’s too hard to explain so you’ll have to figure out what works best for you!
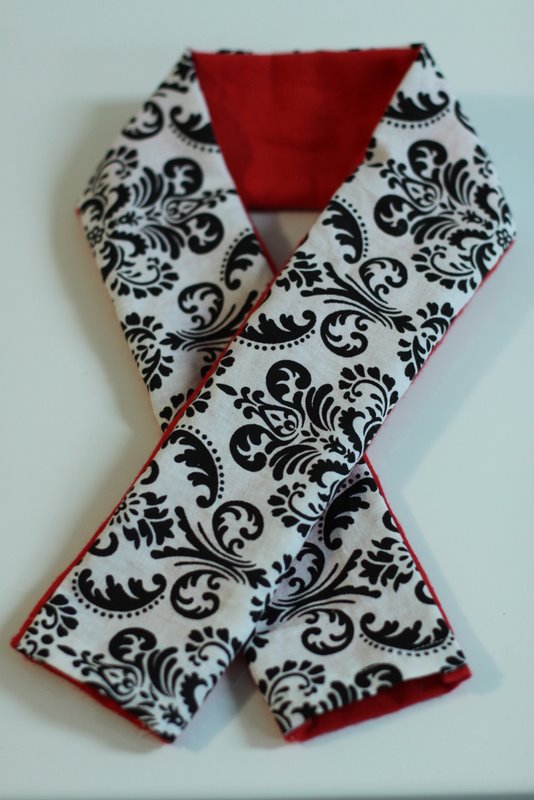
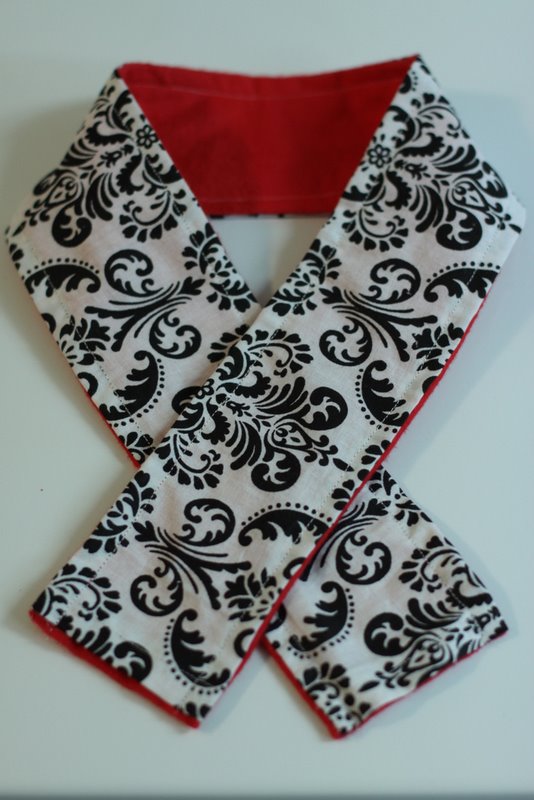
Once you are done you have a strap that looks like this, pretty neat huh??
But wait, there’s just one last (optional) step I like to take… and that’s called top-stitching. I think it gives it a more finished look… so here we go, last thing, I promise. Basically you just stitch another line a little bit inset from the ends of the fabric.
And we’re done! The top stitching is kind of subtle in this picture but you should see a line on both sides that is about 3/4” in from the sides of the strap.
And finally, put the camera strap cover onto your strap.
A camera strap in action!
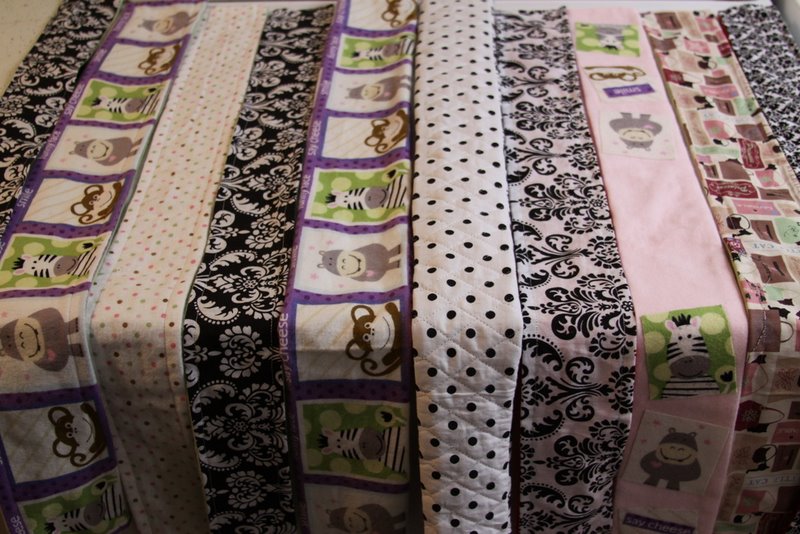
And here’s all of the strap covers I whipped up in a week – with my MIL’s help! All fabrics courtesy of J0ann Fabrics.
Now, your turn to make some and have your camera stand out from the rest!


 In Stitches

