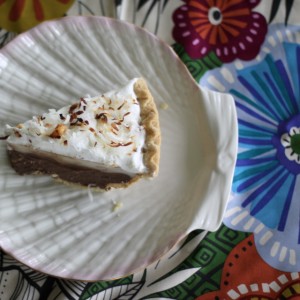
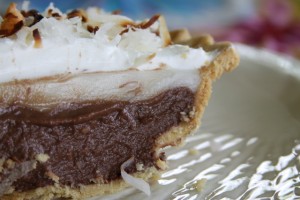
Today is quite the exciting day: my parents are coming into town, the weather is super nice out, and I have my first ever GUEST POST over on Lola’s Girl! Big thanks Jozen for letting me share with your readers while you nosh on spam musabi, sip out of coconuts, and watch beautiful sunsets in Hawaii! 😉 Here’s a sneak peak at the heavenly dessert that is posted over there…
And if you are joining me from Lola’s Girl, WELCOME!! I’m glad to have your company over here on my little corner of the web. 🙂 For those of you who aren’t already Lola’s Girl readers, hop on over to her blog to see everything from stylish inspirations, pictures of her adorable daughters, and basically just a daily dose of happiness!
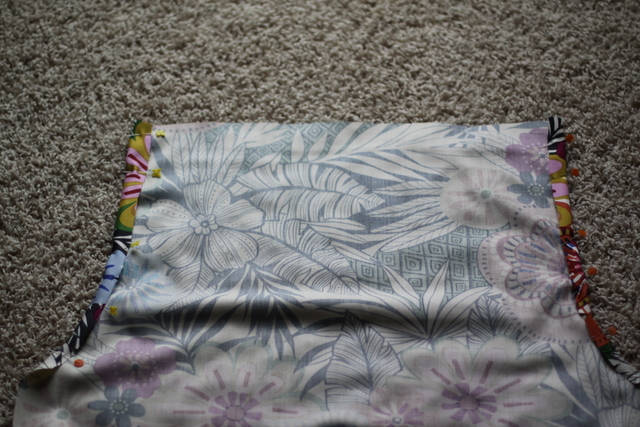
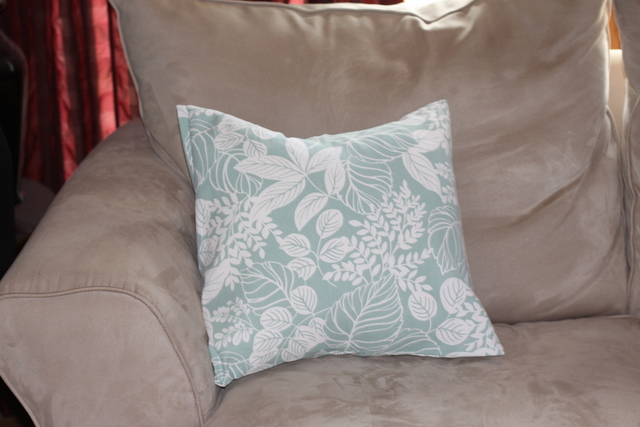
Now see the fabric underneath the pie? That’s the same fabric I used to make my… drum roll please…
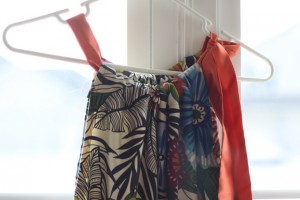
FIRST DRESS!!!!
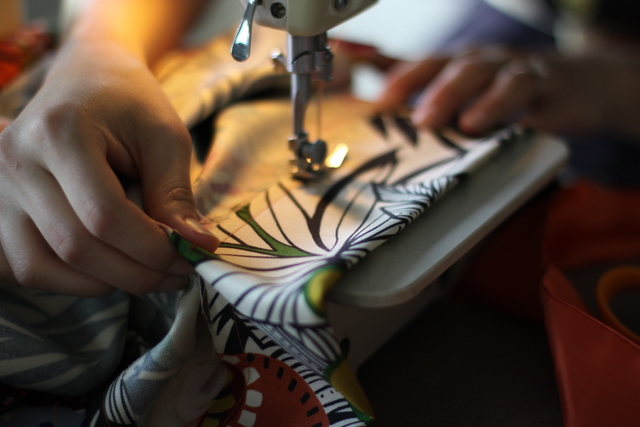
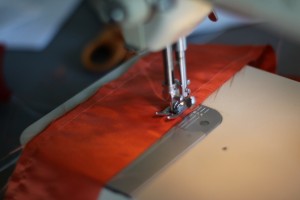
Can you tell I am excited? A few weekends ago, my friends, Nancy, Sheena and I got together to tackle our first apparel project. We didn’t really follow a template, just started cutting and sewing (and then later adjusting). Nancy had made this dress the week before we met up so she was able to give us measurement pointers, but if you choose to follow along and make one for yourself, these measurements may need to be altered.
1. Cut two pieces of fabric for the front and back of the dress: length = 34″, width = 25″.
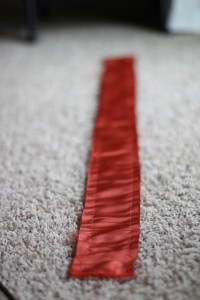
2. Cut two pieces of fabric for the drawstring tie: length = 56″, width = 2″. Or you could cut 4 pieces that are length = 28″, width = 2″ if your fabric is not long enough.
3. Sew a hem on the bottom of each piece of dress fabric, about 1-2″.
4. Measure about 8″ down on the top sides of the dress fabric and cut out arm holes.
5. Sew the hem on each of the four arm holes, two on each fabric. Make sure not to sew the armholes together!!
6. With the right sides facing each other, sew down the two sides of the dress.
7. Fold over the top hem of the dress by about 2-3″, make sure it is enough to fit the width of the drawstring tie.
8. For the drawstring tie, place the two pieces right side facing each other, and sew along the edges, about 1/4″ in.
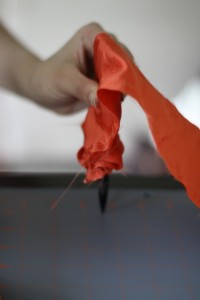
9. Flip the tie inside out and sew the edges closed.
10. Insert drawstring tie through top of dress. And voila, you are done!!
Now kick back with a tall glass of sangria…
…and jump for joy because you just finished sewing a DRESS!!!
If you would have asked me one year ago if I’d ever make my own clothes — let alone get into sewing — my answer would have been a big negatory! But thanks to my mother-in-law for getting me started and my dear friends for pushing me, I’m doing it, I’m making my own clothes! That being said, I’m never shopping ever again for clothes, haha just kidding. Well, basically, now when I go shopping I think… “Can I make this?” And if the answer is “Yes”, then I don’t buy it!
Once again, if you are a new reader from Lola’s Girl, I hope my pie and my dress have enticed you to come join me on my crafting, sewing, baking, renovating, and photographing adventures! 🙂
P.S. The Pagestoppers GIVEAWAY ends today at 5:00PM CST! Winner will be announced tomorrow!


 In Stitches
