Cake Popalicious

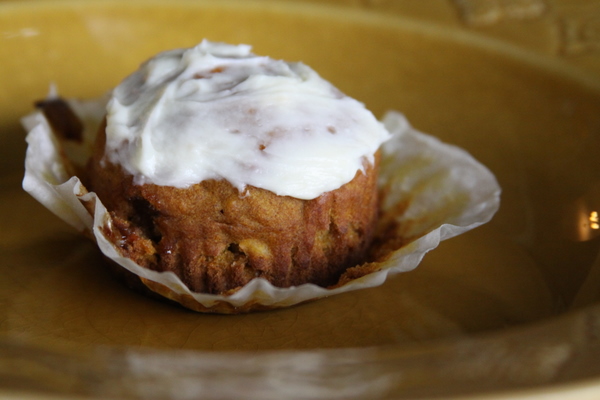
My first post on this blog was based on a recipe I saw on the ever amazing Bakerella.  But what really drew my attention to her website were her crafty cupcake and cake pops!  Red velvet cake mixed with cream cheese frosting coated with a colorful hard candy shell, mmmmm.  If you haven’t made these before, I really think you should try them at least once in your lifetime!  The last batch I made were for my adorable nephew’s 1st birthday/dol party!

Ingredients:

  • Red velvet cake mix
  • 16 oz. can cream cheese frosting
  • Colored candy melts
  • Lollipop sticks

Directions:

1. Make your own red velvet cake from scratch or buy a box from store and follow directions on box.  I did the latter.  =)

2. Let cake cool before thoroughly mixing in a 16 oz. can of cream cheese frosting.

3. Form cake and cream cheese mixture into 1.25″-1.5″ balls and place on wax paper covered cookie sheet.  You should be able to make anywhere from 40-60 balls.   And wash your hands periodically as this can get real messy!

4. Put in fridge for a few hours or in freezer for 15 minutes.

5. While cake balls are chilling, melt colored candy melts in microwave.  I melted mine in a bowl for 2 minutes total, at 30 second intervals and stirring in between.

6. Dip cake balls in melted candy and coat thoroughly.  I used a spoon to help roll the balls around.

7. Dip end of your lollipop stick in the melted chocolate.  Let it dry right side up to ensure perfect roundness.  (I made holes in the bottoms of an egg carton and let the cake pops sit there until dry.)

8. You are now ready to display your cake pops in whichever fashion you choose!

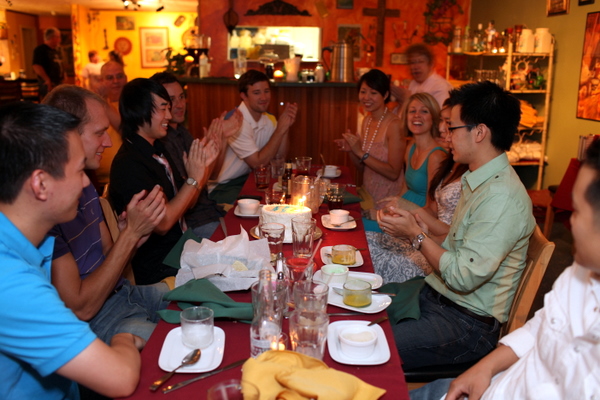
The blue and white cake pops I made were displayed at the sweets buffet table at my nephew’s party!  They were placed in a clear glass container with white sugar and salt water taffies as the base so that they’d hold up.  The first image and last two images were taken by the talented Youkeun Oh Photography, a Los Angeles based photographer.  I love this last one of my nephew Evan sticking out his tongue wishing he could eat a cake pop, tee hee.  I think I taught him how to stick out his tongue the week before his party to the dismay of my sis-in-law (sorry Jenny), but it made for a great pic right?!  More images from Evan’s party can be seen on his blog.

The red velvet and cream cheese frosting mix is heavenly but I think next time I want to play around with different cake + frosting flavor mixes such as chocolate cake and vanilla frosting or devil’s food cake w/ cream cheese frosting.  What other combinations do you think would be good?


26 Comments

  1. February 15, 2010 / 11:46 am

    Cake pops are delicious! but they are not as easy as you would think to make! I made them for my daughter’s 3rd birthday in January you can see pics here: http://www.facebook.com/photo.php?pid=30893813&id=1026953761#!/photo.php?pid=30893220&id=1026953761&fbid=1276105295865

    I baked mine in a silicone mold, the hardest part was gauging when to put the stick in so it would stay and not fall over! 🙂

    Anyway they were delicious and a big hit at the party!

  2. Lai
    February 15, 2010 / 12:10 pm

    Yay! I had your red velvet cake pop last December! It was so cute! For other combinations, how about raspberry cake with butter cream frosting? This was actually my wedding cake.

  3. February 15, 2010 / 12:47 pm

    How pretty do those cake balls look! Yum… I just have to try this now!

  4. February 15, 2010 / 5:26 pm

    I’ve made cake pops a couple of times–they are such a fun dessert for a party! Love the blue and white!

  5. February 15, 2010 / 10:00 pm

    i love love bakerella! her desserts are delectable masterpieces! your cake pops are fantastic too!! beautiful presentation. i could totally see these at tiffany’s. 🙂

  6. February 15, 2010 / 10:15 pm

    you did a wonderful job and thanks for the link to my site!

  7. Helen
    February 15, 2010 / 10:16 pm

    you’re so talented! I loved the cake pops 🙂

  8. February 15, 2010 / 10:49 pm

    that looks AMAZING! i’ve never had cake pops before, can’t wait to make them! and that color scheme is so chic!

  9. February 15, 2010 / 11:55 pm

    Oh my gosh, Sandy! These are so cute! I absolutely LOVE Red Velvet! I think another good combo would be strawberry cake with cream cheese frosting. MMM.

    p.s. your nephew is the cutest. ever! xo

  10. February 16, 2010 / 12:15 am

    Very cool! I never knew about these before. I bet their delicious!

  11. February 16, 2010 / 8:24 am

    This is an incredible idea, and I LOVE red velvet cake! I just want to eat these off the screen.

  12. Sophie
    February 16, 2010 / 3:55 pm

    this looks like so much fun! where do i purchase the colored candy melts? Evan is adorable w his tongue sticking out :p Great job Aunt Sandy!

    • February 16, 2010 / 4:14 pm

      @Sophie Thanks Sophie! I got my colored candy melts at Joann’s! They have tons of different colors there! I’m sure any craft type stores would have them. You could also use almond bark and dye it with food coloring, which you can get at most grocery stores.

  13. Cristiana
    February 17, 2010 / 10:24 am

    Sandy, I love the cake pops– such a great idea! For melting chocolates, have you ever tried An Occasional Chocolate? (http://www.anoccasionalchocolate.com/guittard-chocolate.html) I use their melting chocolates for peppermint bark and the chocolate is amazing (and a great price too)!

    • February 17, 2010 / 10:32 am

      @Cristiana No, I haven’t tried that brand of chocolate before! Thanks for letting me know about it!

  14. February 17, 2010 / 11:23 am

    Not only do these look positively scrumptious, I can just imagine how cool they must have looked when bitten into–the contrast of the red with the white or blue outside would be so impactful!

    Plus how CUTE is your nephew?!?

  15. February 17, 2010 / 12:56 pm

    love these cake pops! you’re so creative. thanks so much for making these for the party! everyone loved them. =)

  16. February 17, 2010 / 5:12 pm

    wow! gorgeous!

  17. February 17, 2010 / 7:43 pm

    You guys were so creative for this! I love the idea! Yes your nephew is adorable I love the picture with him sticking his tongue out!

  18. February 17, 2010 / 9:36 pm

    omg i am going to have to try these.. i LOVE all things red velvet!

  19. February 17, 2010 / 10:43 pm

    sandy sandy!!! i’m LOVING your comments!
    thank you so much!
    i’m also LOVING your blog!!!
    <3!
    j.

  20. February 21, 2010 / 2:35 pm

    Wow those look super-pro – nice work!

  21. October 19, 2010 / 2:01 pm

    WoW!!! Great job on these!!! Seriously the red velvet is my absolute favorite. No other recipe has come close to hers! <333

Leave a Reply

Your email address will not be published.

This site uses Akismet to reduce spam. Learn how your comment data is processed.