Fashion
Beauty
Family
Lifestyle
Home
About
Contact
Shop
basement
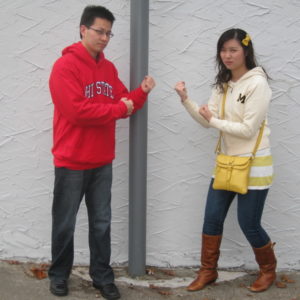
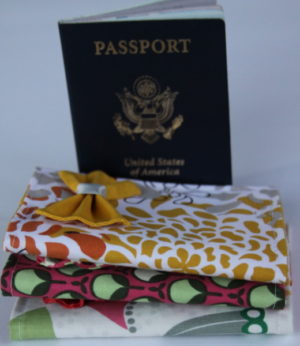
A year of weddings, travel, renovations, and some random statistics!
Read More
The Basement Project: Series 6 – Crafting
Read More
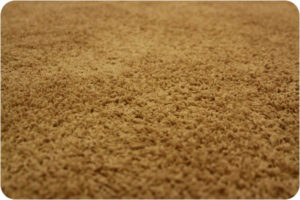
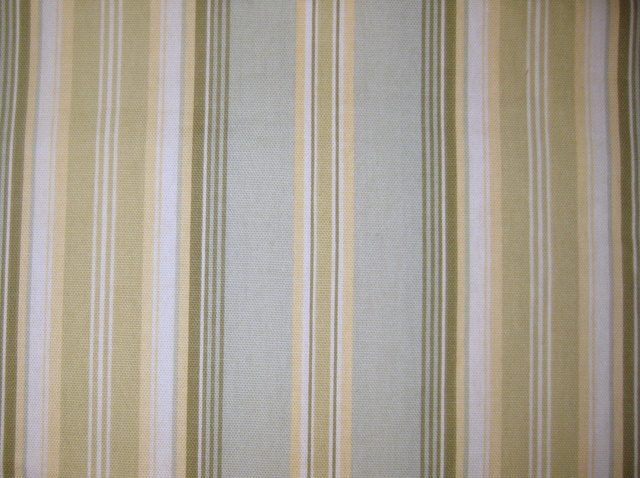
The Basement Project: Series 5 – Frieze Frenzy
Read More
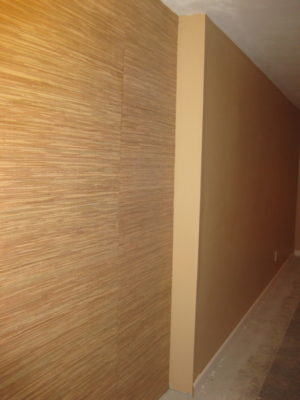
The Basement Project: Series 4 – Bamboo Wallpaper Goes Up!
Read More
The Basement Project: Series 3
Read More
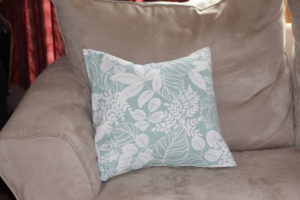
Sew Simple Foldover Pillow Cover
Read More
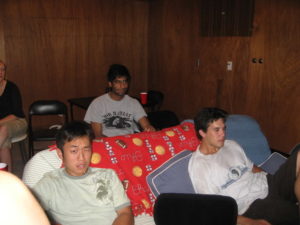
The Basement Project: Series 2
Read More
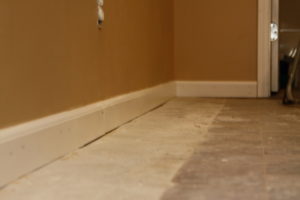
The Basement Project: Series 1 (of many)
Read More
On the Blog
Fashion
Beauty
Lifestyle
Home
More
Shop
About
Contact