Fashion
Beauty
Family
Lifestyle
Home
About
Contact
Shop
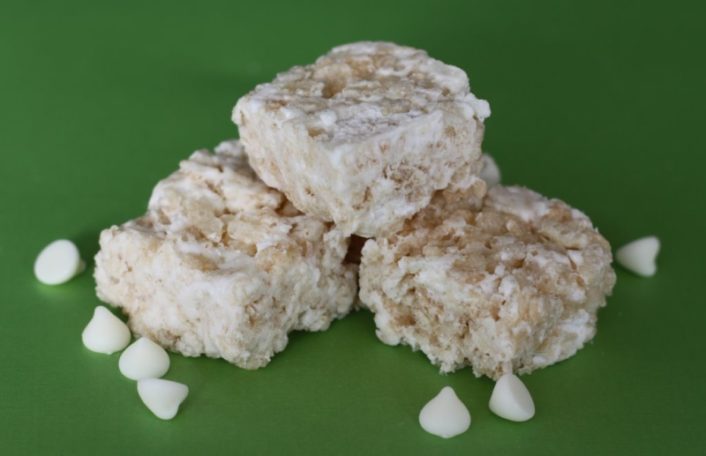
White Chocolate Treats
Read More
Personalize Your DSLR Camera Strap
Read More
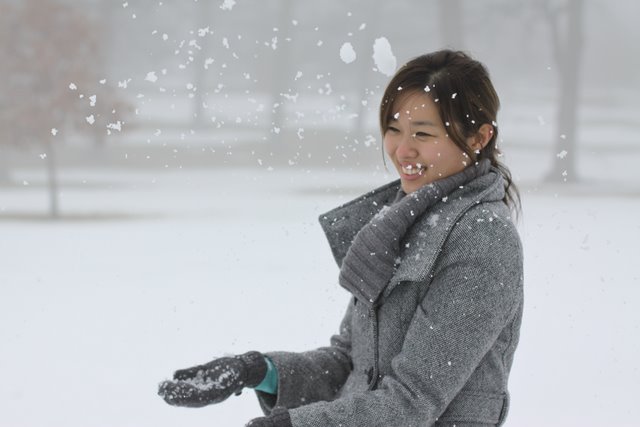
One Foggy Day
Read More
Hail to the Kale!
Read More
Caught in a Blur
Read More
Easy Peasy Peanut Butter Cookies
Read More
On the Blog
Fashion
Beauty
Lifestyle
Home
More
Shop
About
Contact