Fashion
Beauty
Family
Lifestyle
Home
About
Contact
Shop
Recipes
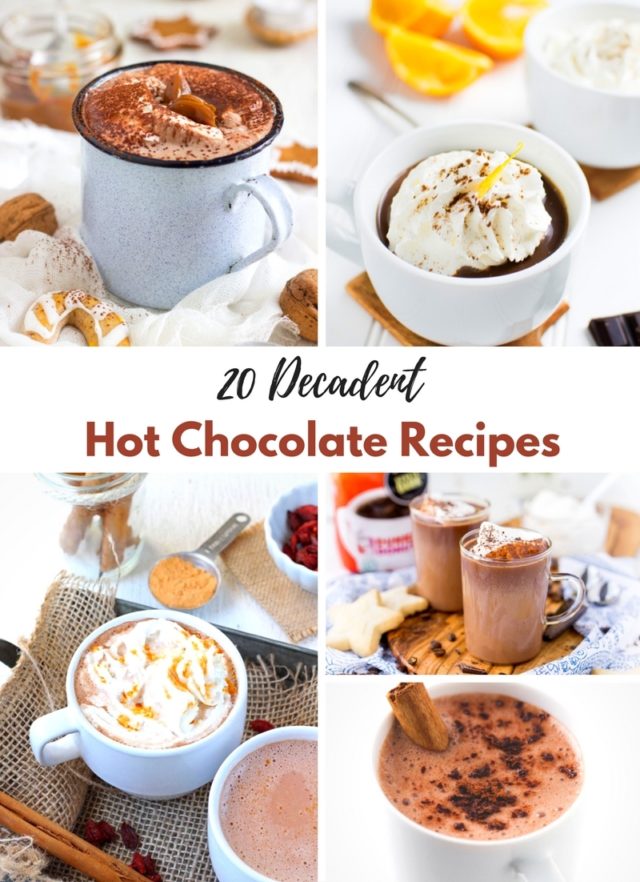
20 Decadent Hot Chocolate Recipes
Read More
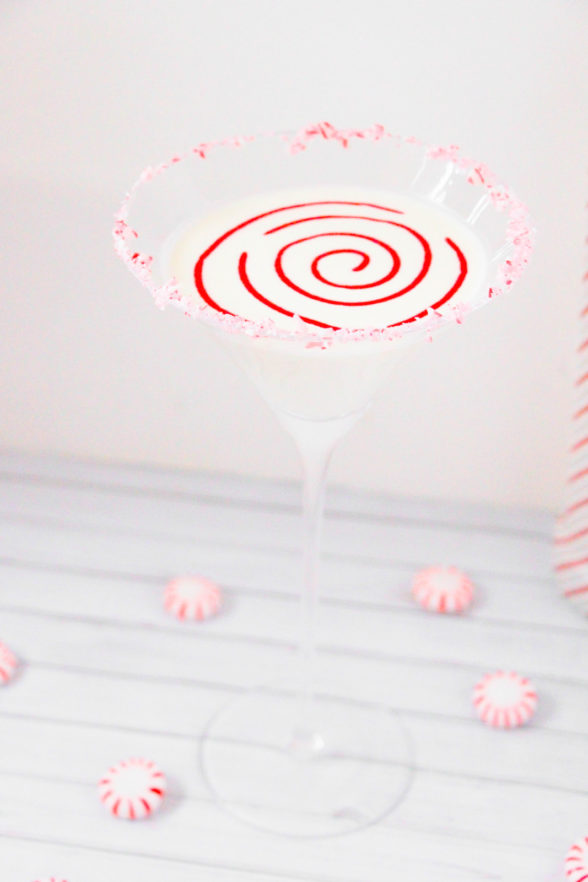
Candy Cane Martini
Read More
Christmas Tree Sugar Cookies
Read More
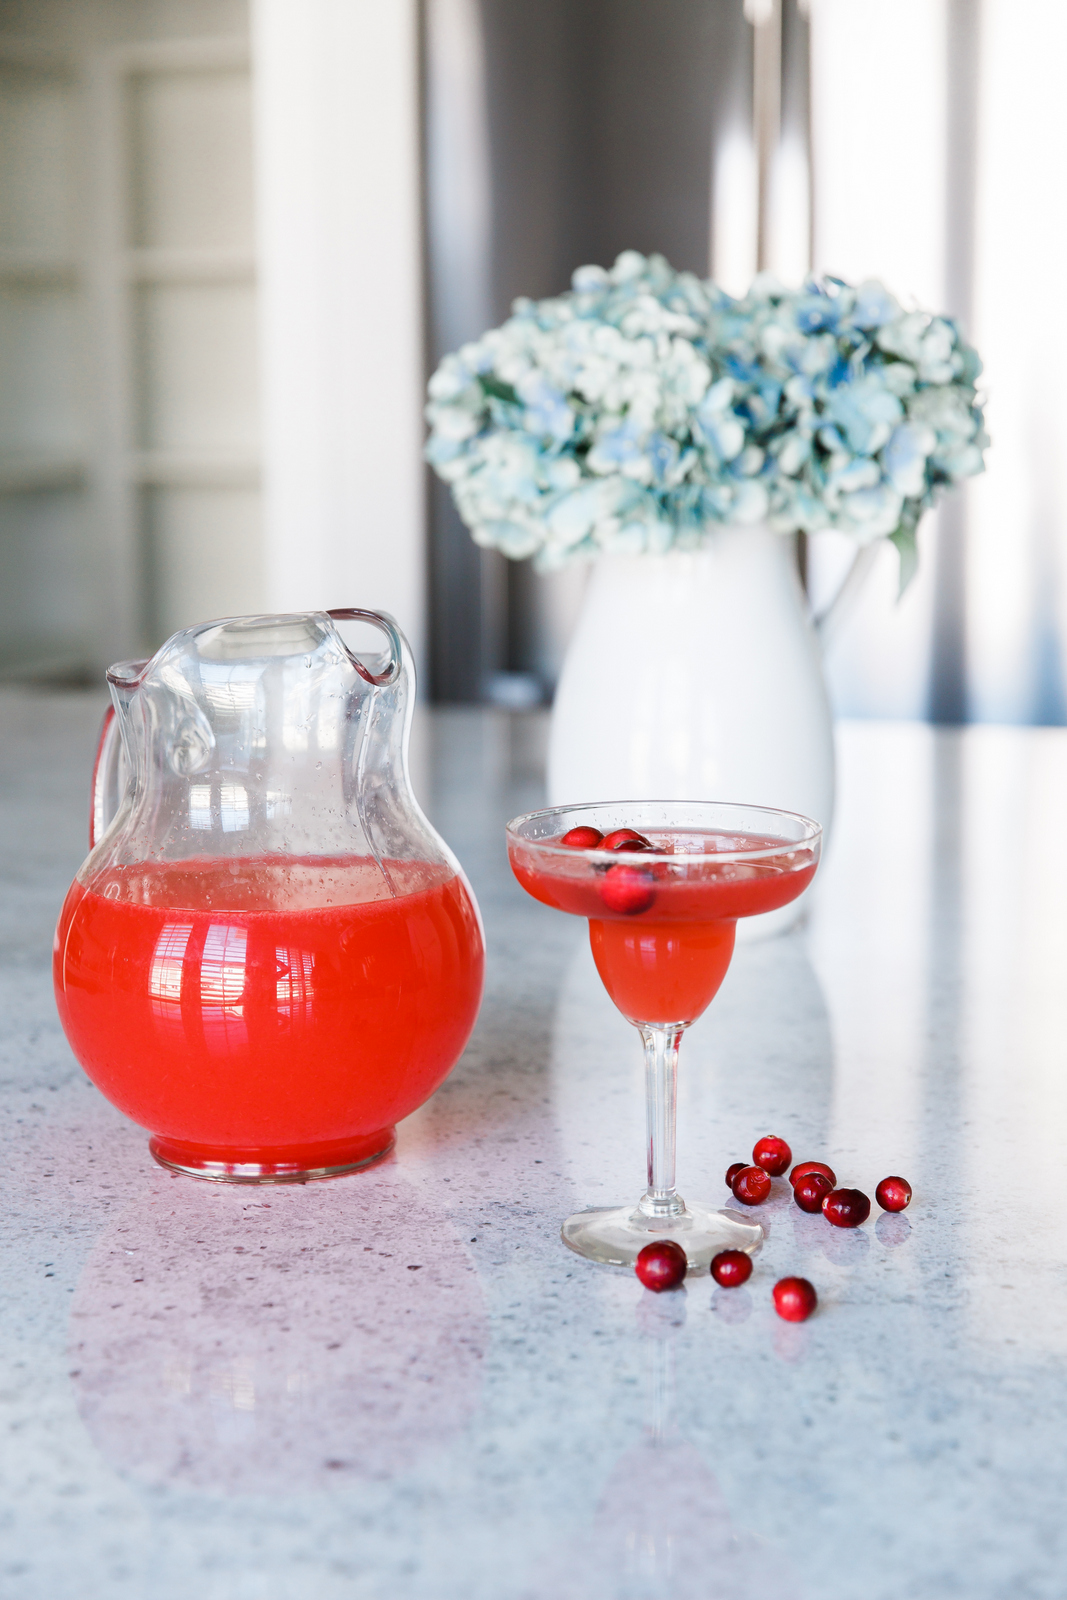
Vodka Cranberry Lemonade Cocktail #MixedWithTrop
Read More
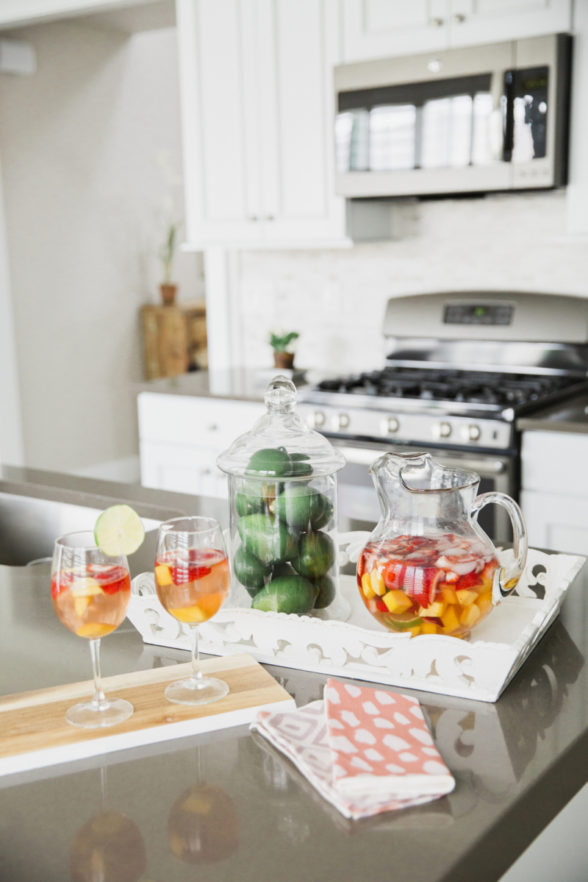
Strawberry Mango Rose Sangria
Read More
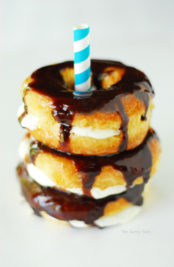
To Donut or to Doughnut? 25 Amazing Recipes You’ll Love!
Read More
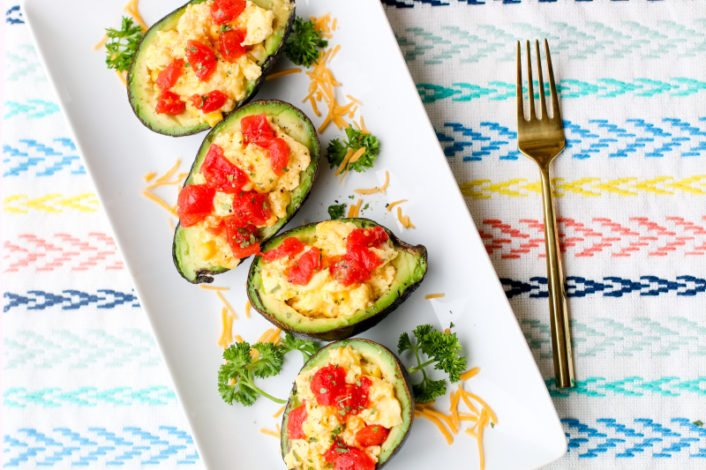
Scrambled Egg Avocado Boats
Read More
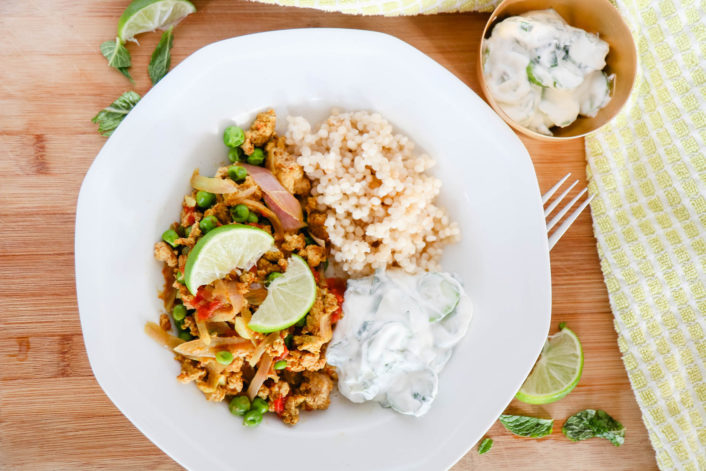
Cooking with SunBasket + Giveaway!
Read More
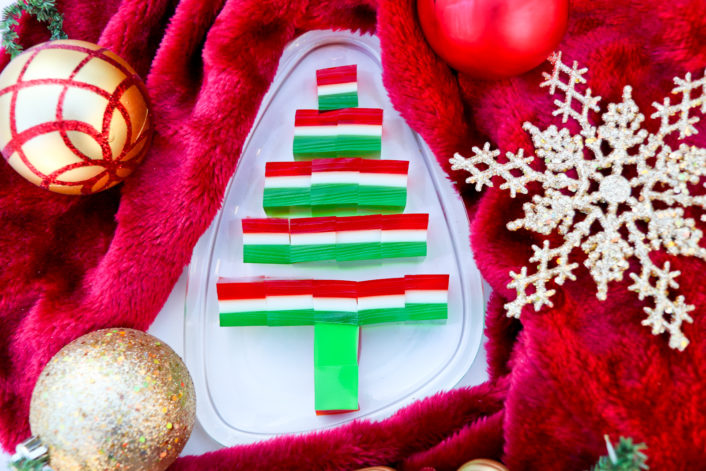
Christmas Layered Jello
Read More
<
1
2
3
...
10
...
>
On the Blog
Fashion
Beauty
Lifestyle
Home
More
Shop
About
Contact